Marquam Hill Mansion Dollhouse, Part 1
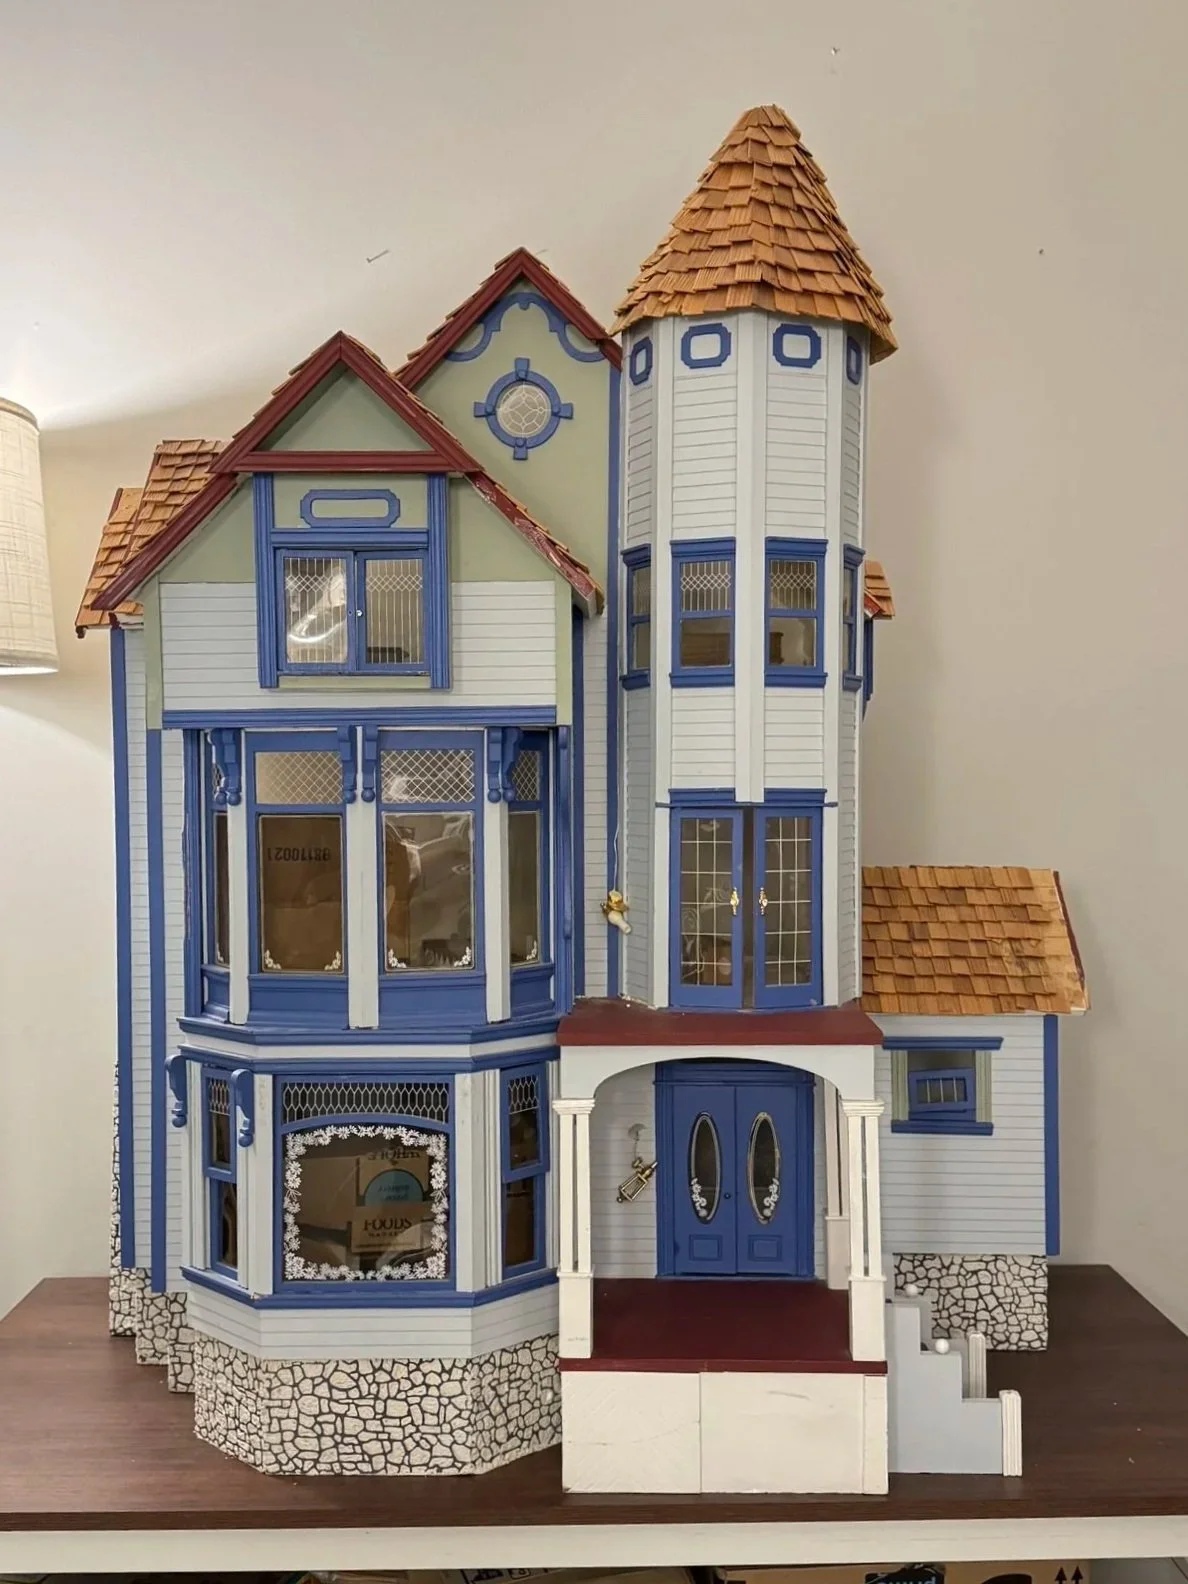
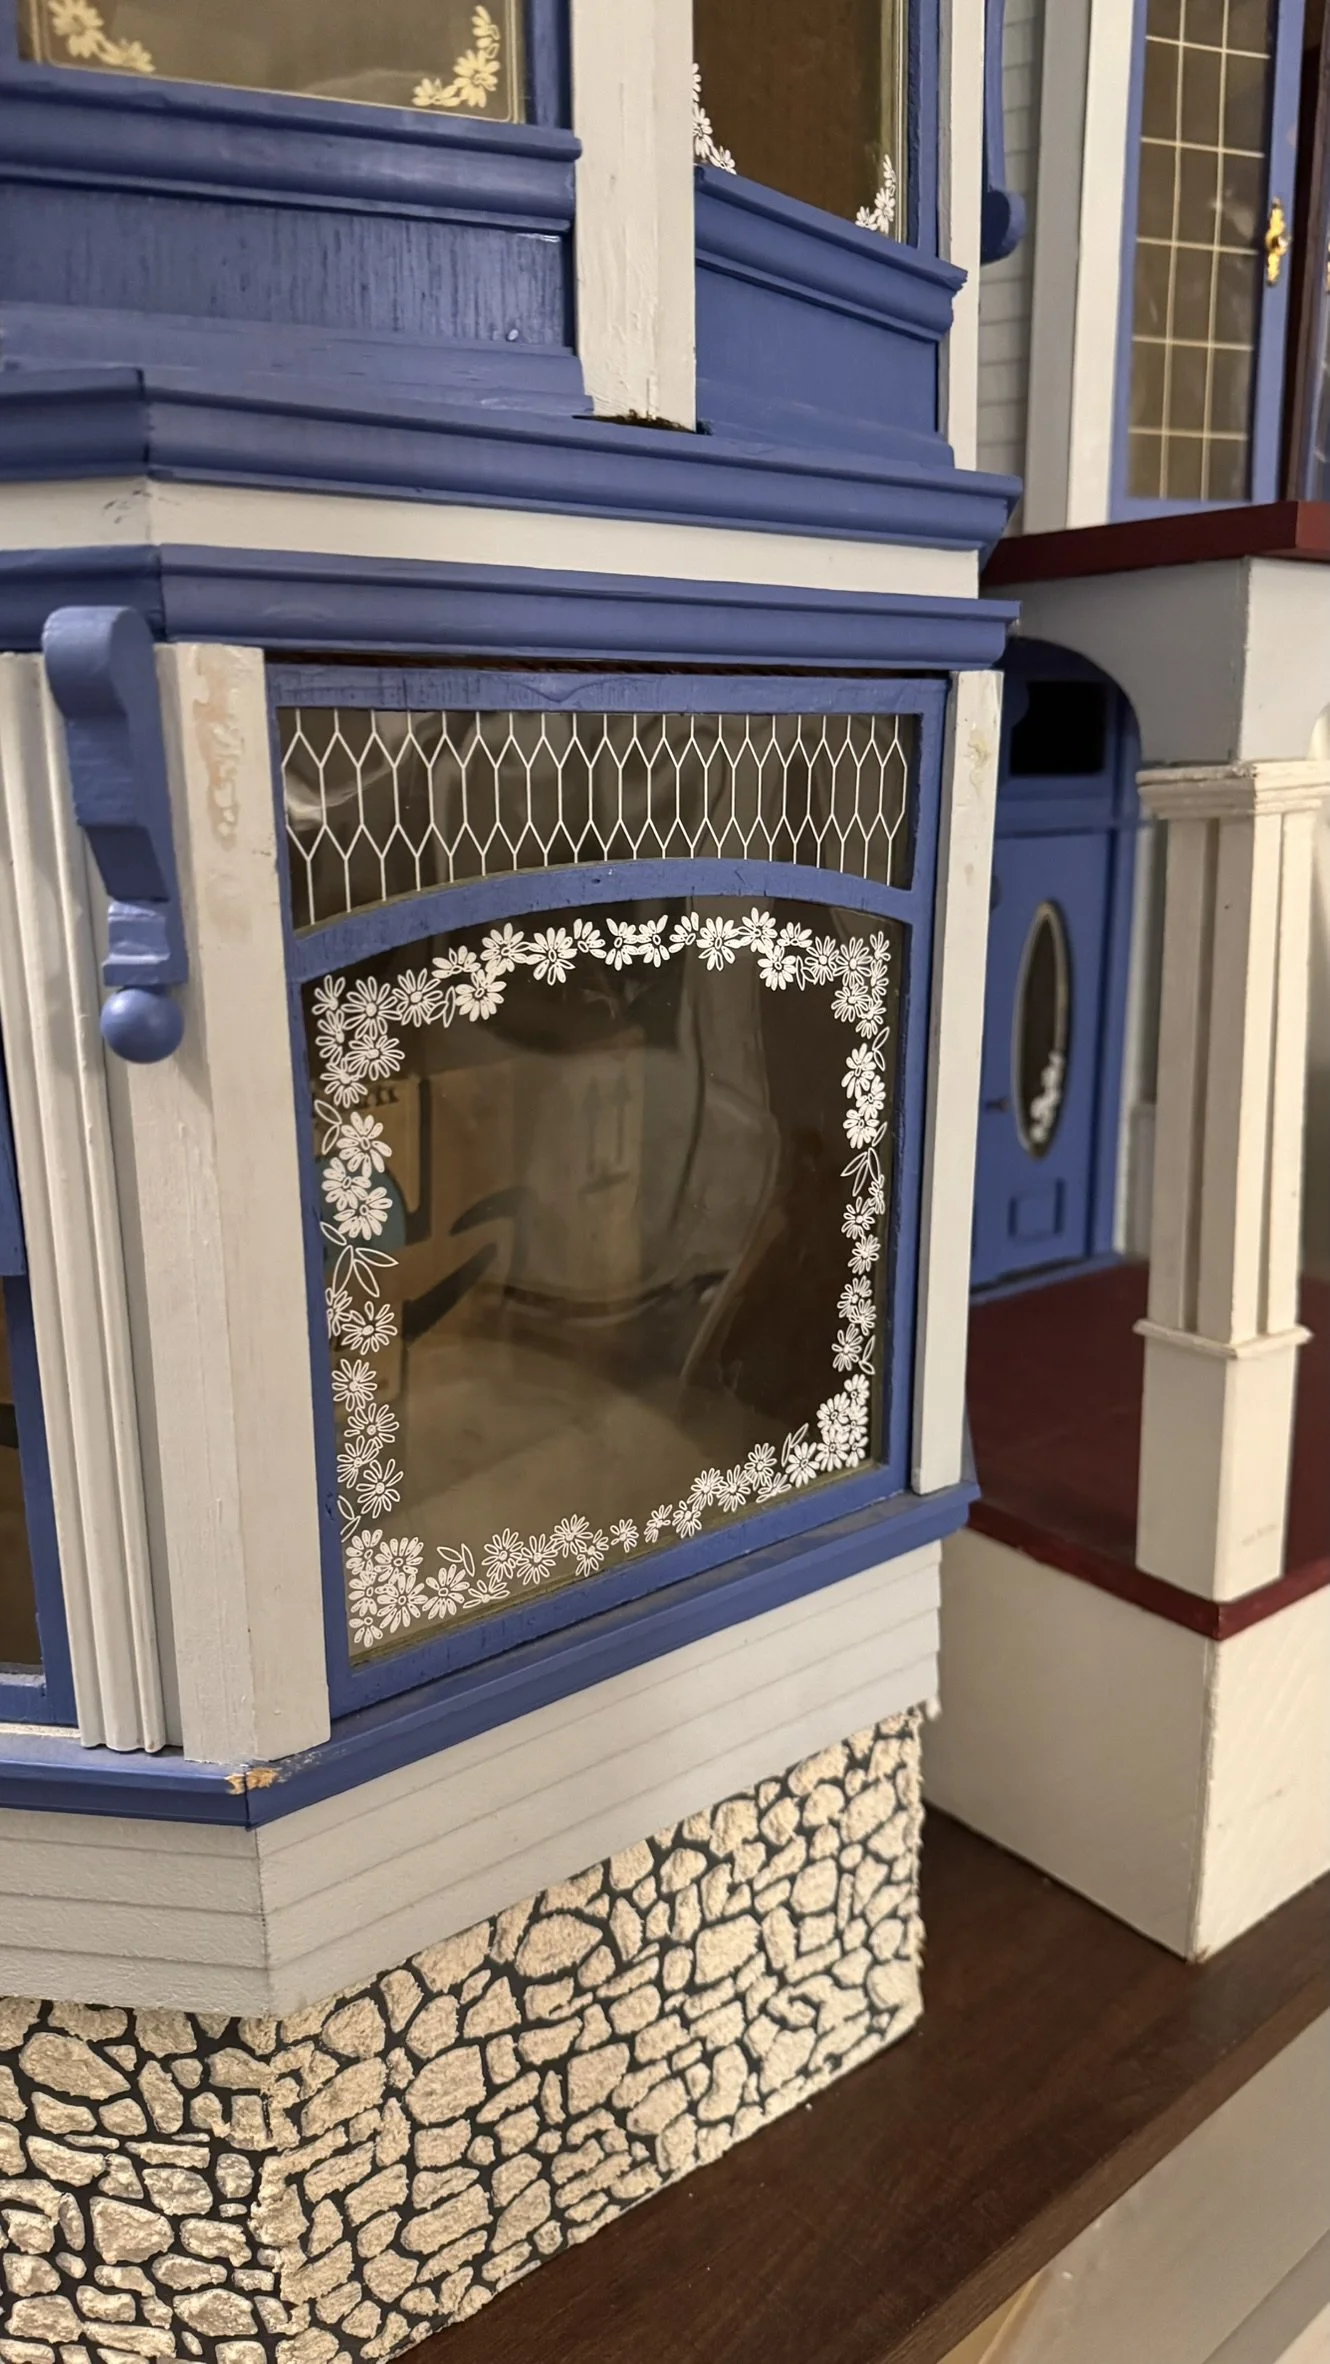
Creeping up on almost 1 year since my last blog post, however, I have been slowing chipping away at a project in the background. Last summer I stumbled on a very large dollhouse for sale on Facebook Marketplace. While not as good of a deal as my very first dollhouse (spoiler alert, my first one was free), it was still a great price for such a gigantic structure. Meet the Marquam Hill Mansion by DuraCraft!
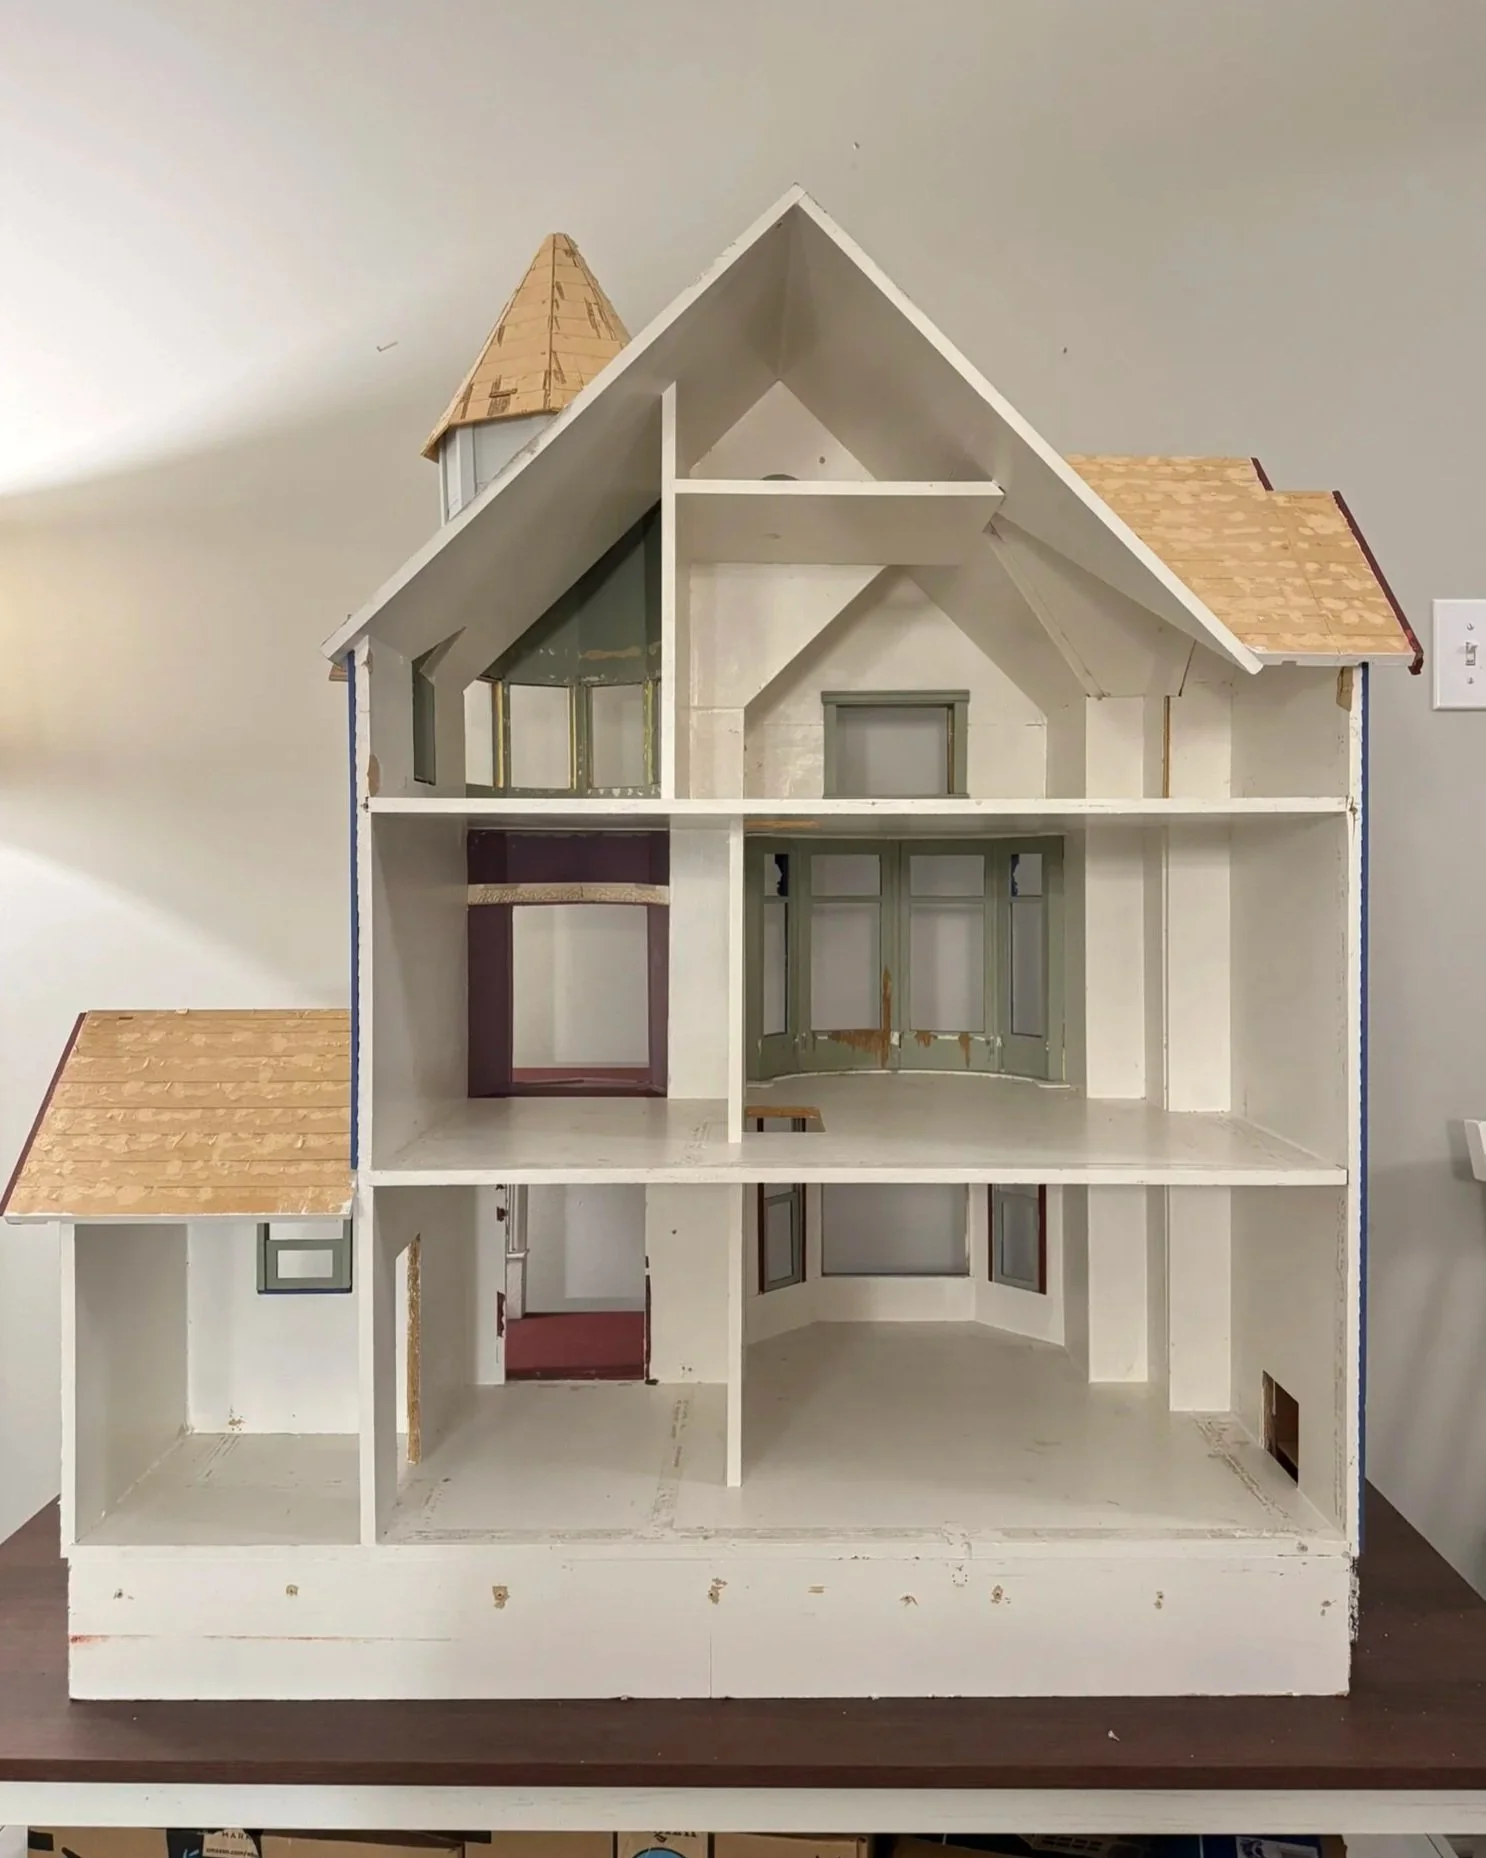
So far my journey with this literal mansion has been focused on demo and rebuilding. The walls and structure itself were in great condition and very solidly constructed. Due to its age, the window panes were very yellow and I knew immediately they would need some replacing. And with so many nooks and crannies to paint, disassembling the windows proved to be the best way forward. But first…
How to Remove Dollhouse Wallpaper
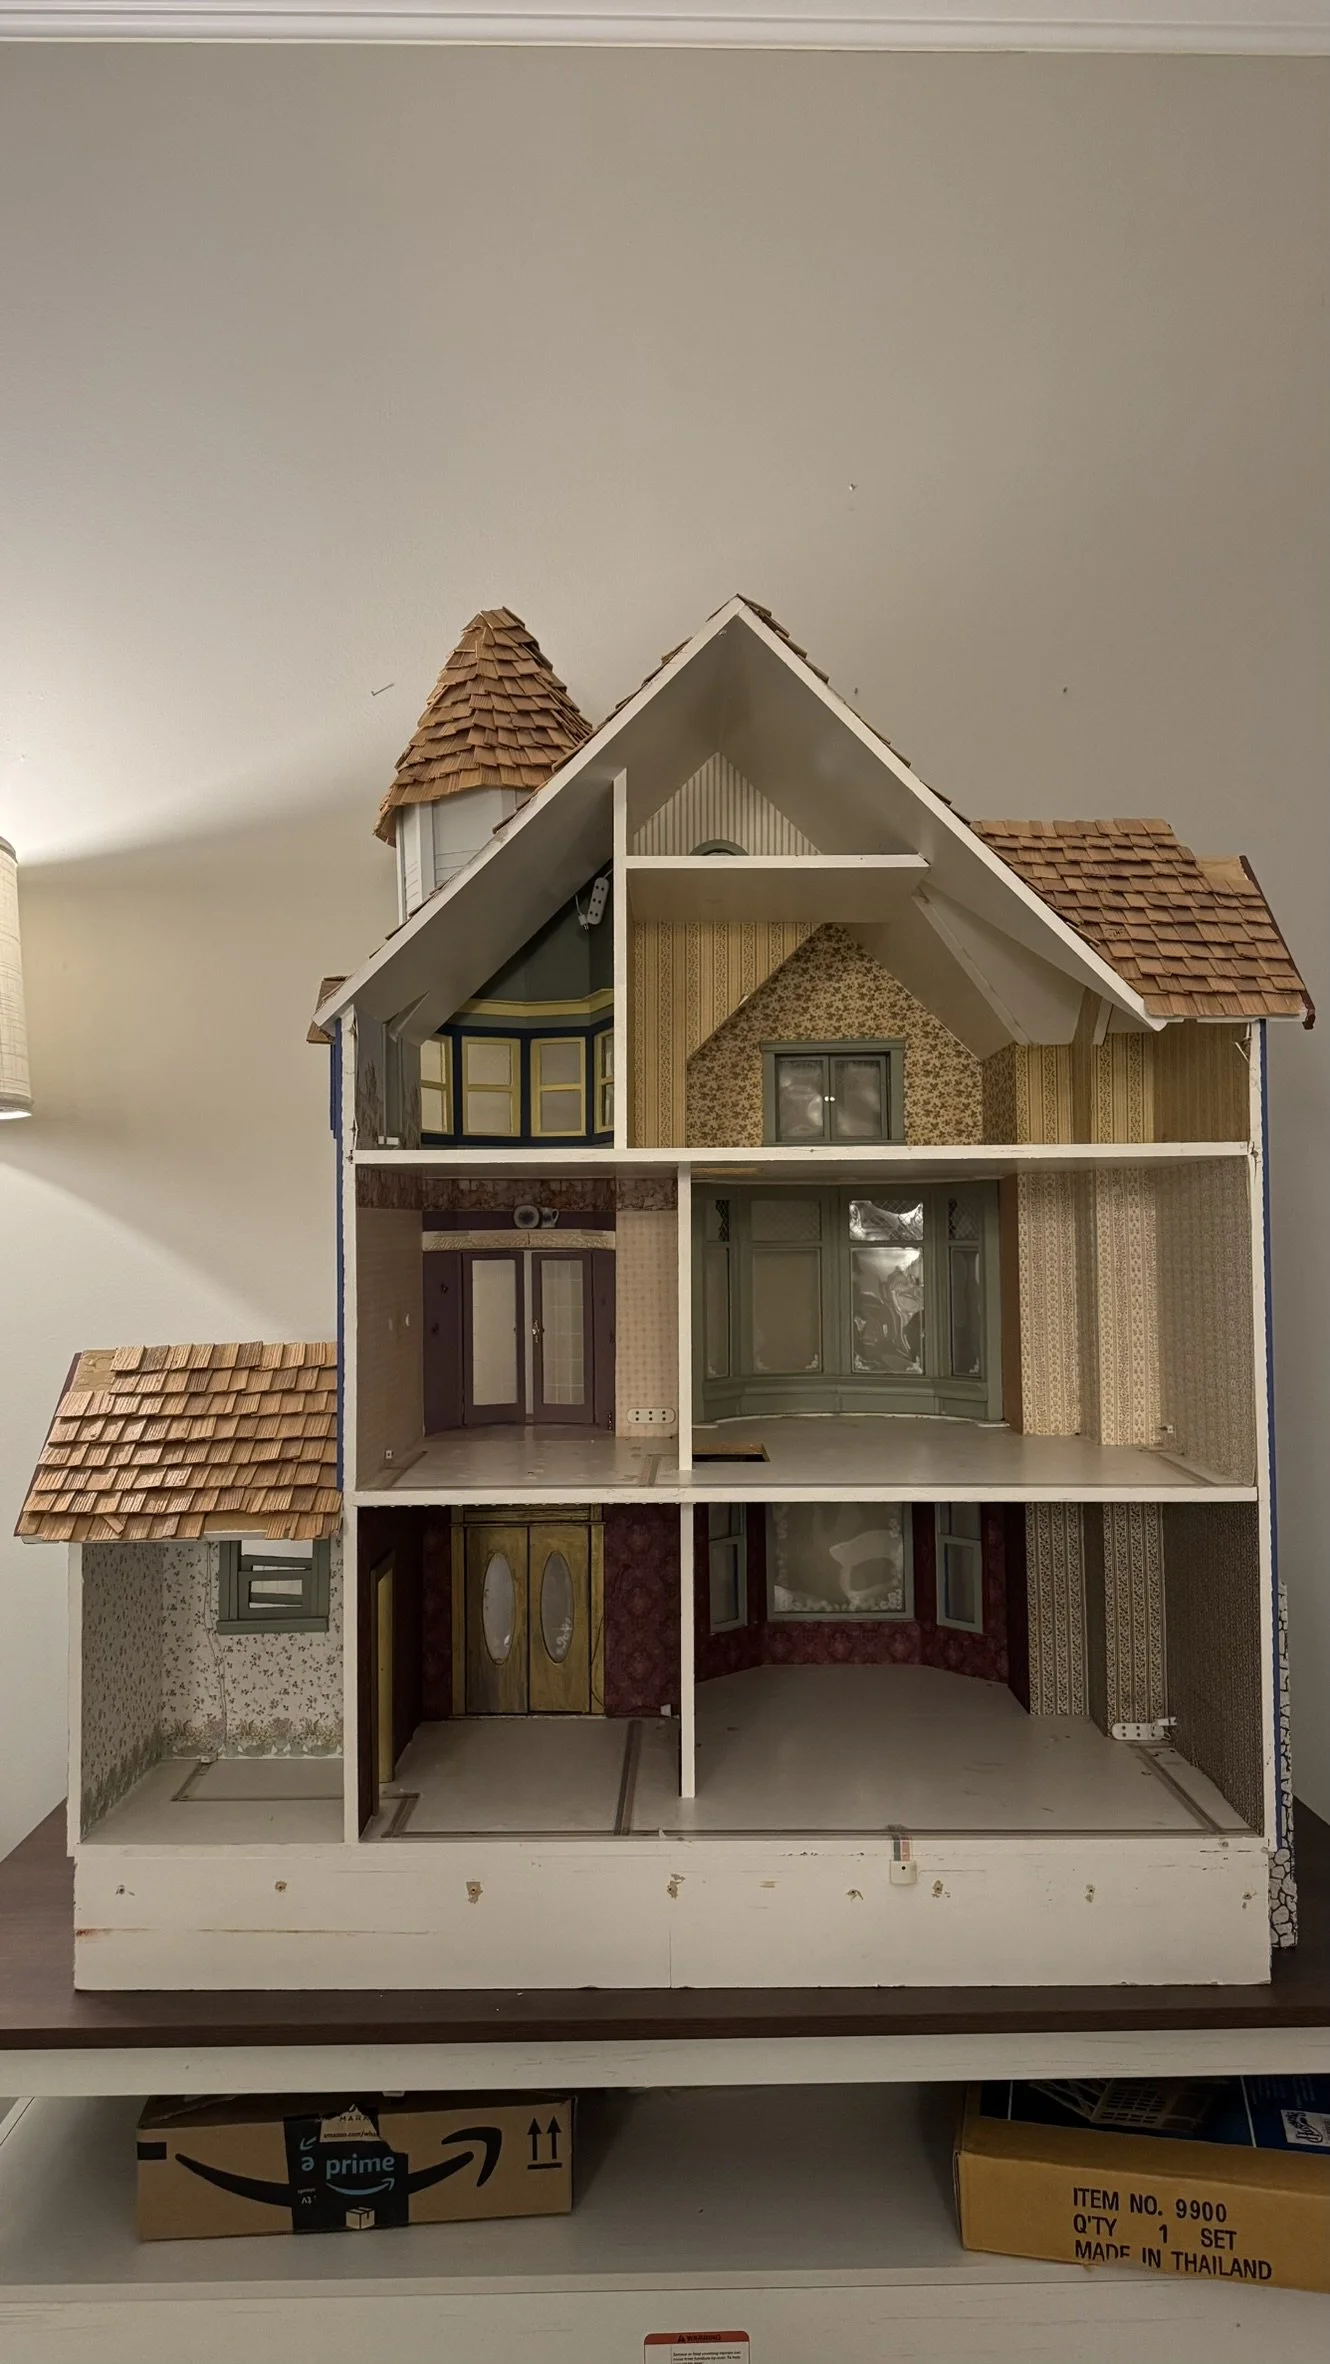
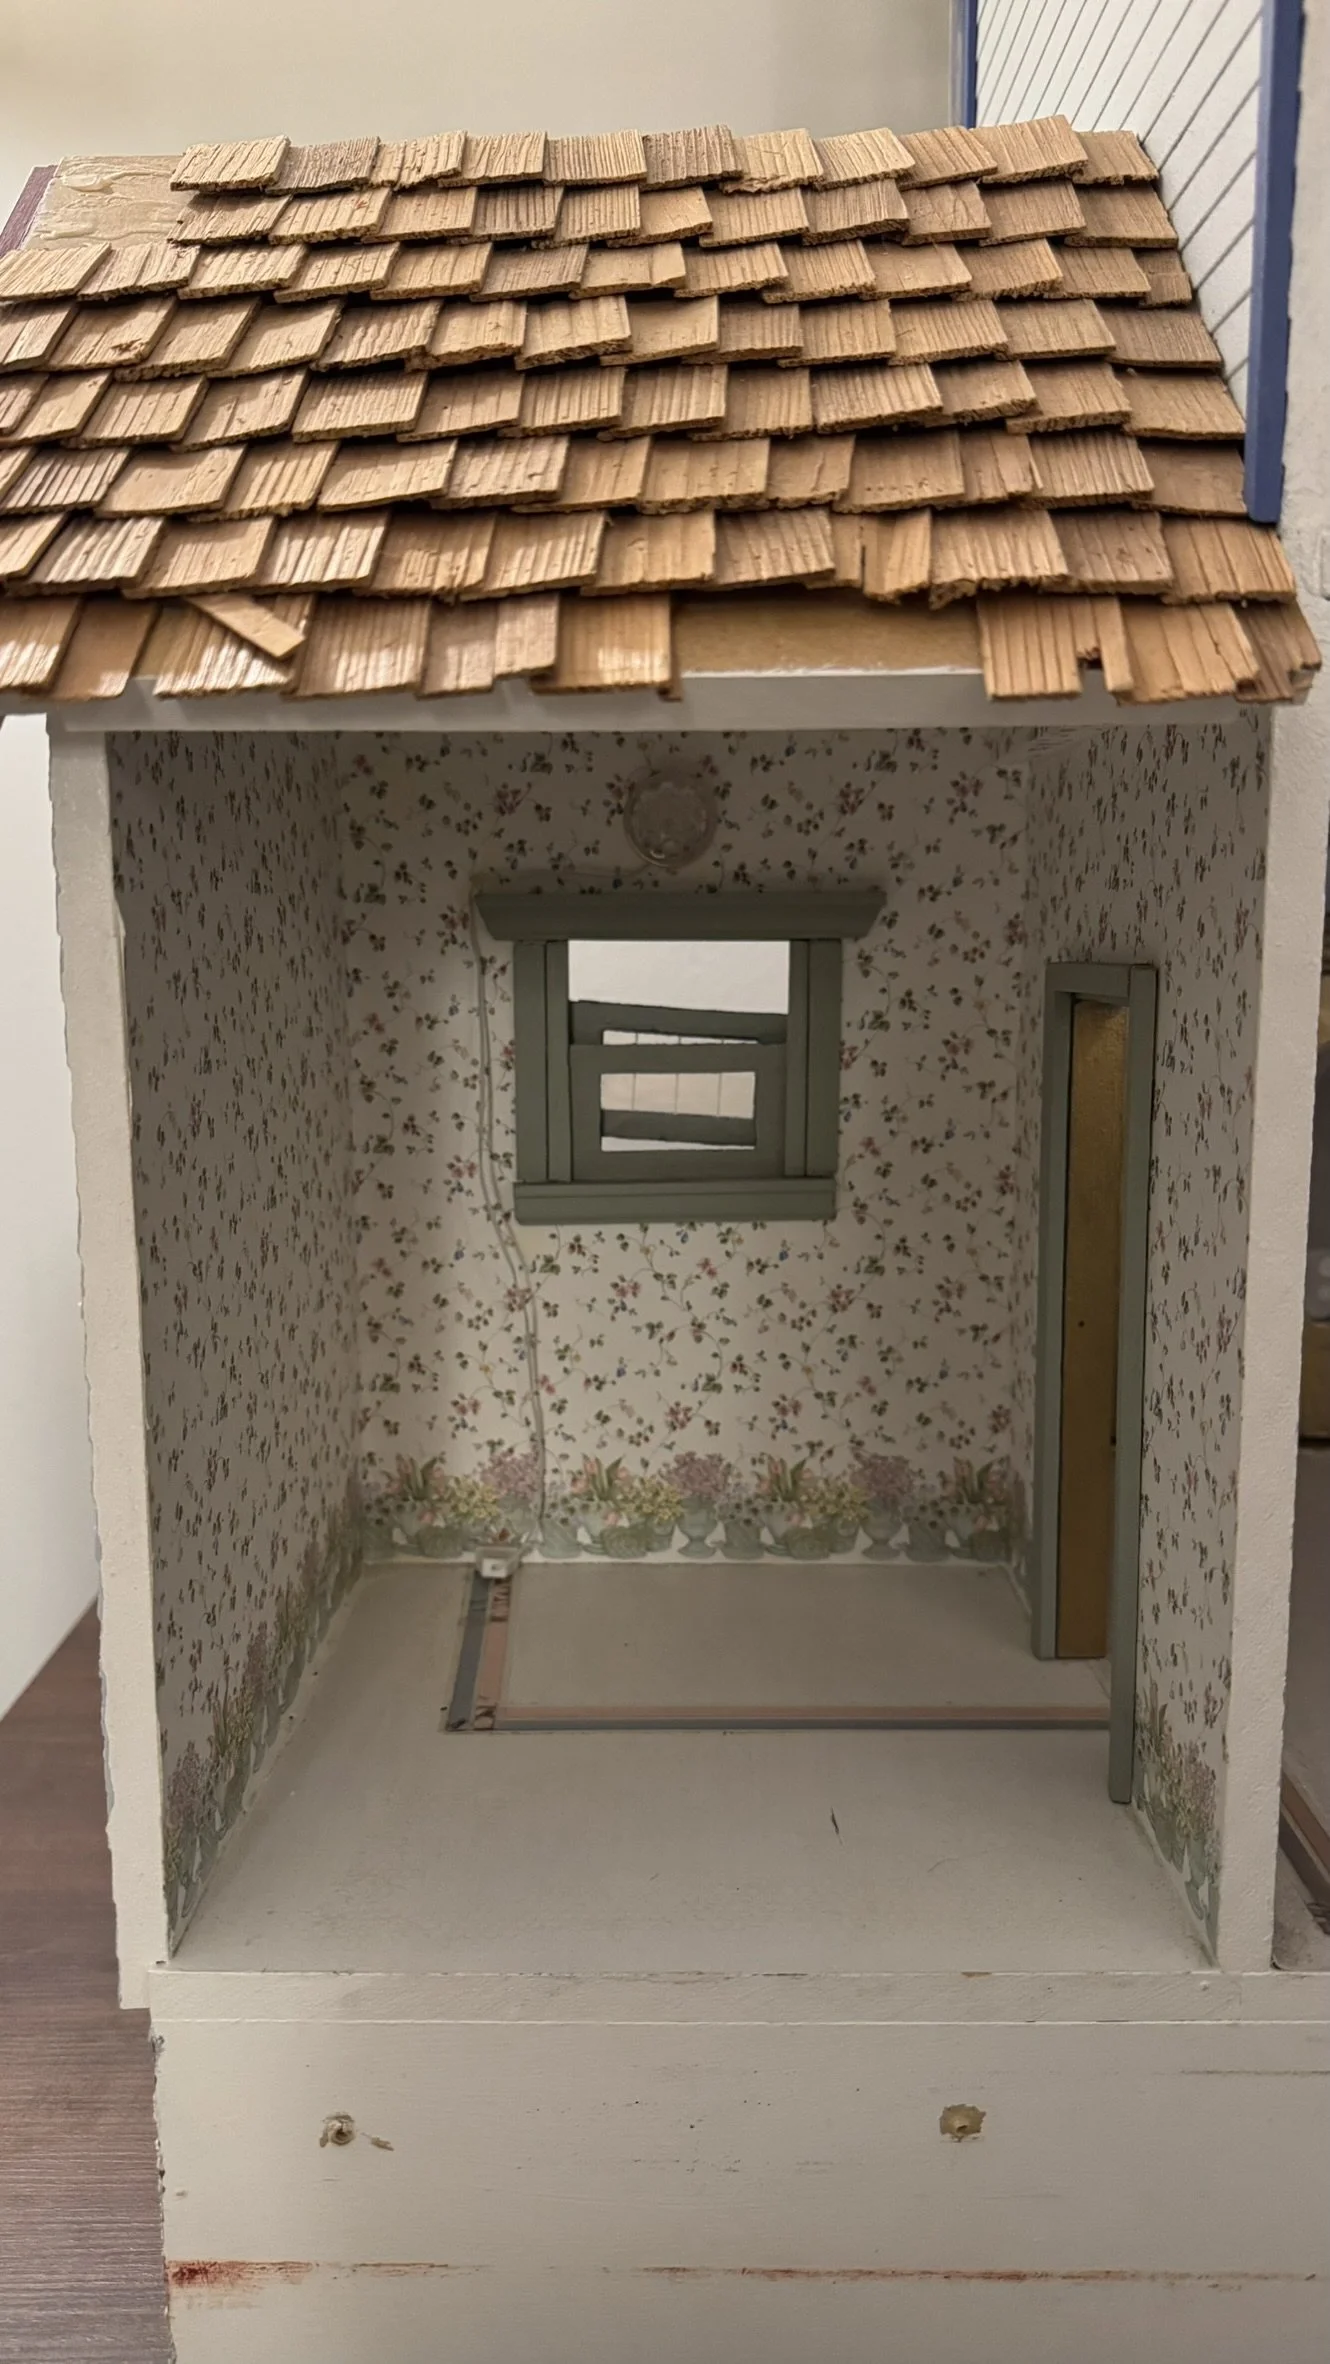
I began with removing wallpaper. In my previous experience I had some success with soaking the paper in Lighter Fluid and peeling it right off. Lighter Fluid sound scary, but it works as a powerful adhesive remover and dries up quickly, unlike GooGone with leaves a greasy film behind. However, this particular wallpaper was very stubborn and required steam power. Using my handheld clothing steamer, I lightly passed over all the wallpaper in a room and then immediately scraped the paper off with a plastic razor blade (like this). Most of the paper came off fairly easily with this approach and so I used it on all the rooms.
The house was also wired for electricity with copper taping. This pulled up fairly easily from the walls and floors, and took a little bit of elbow grease and prying to get the tacks up.
How to Remove Dollhouse Roof Shingles
The cedar roof shingles were falling off by themselves in several areas, and unfortunately this was one of the more poorly done areas of the house. Removing the shingles was a tedious task, but I used a heat gun (not a hair dryer) to loosen the glue and then scraped off each shingle using a metal scraper. The previous builder had used hot glue, so in most instances removing the glue also peeled up the first paper layer on the roof. This at least left a mostly smooth surface for my replacement shingles.
The new roof will use scalloped individual wood shingles. I purchased several packages from Greenleaf and glued to the roof using simple wood glue.
Replacing Dollhouse Windows & Glass
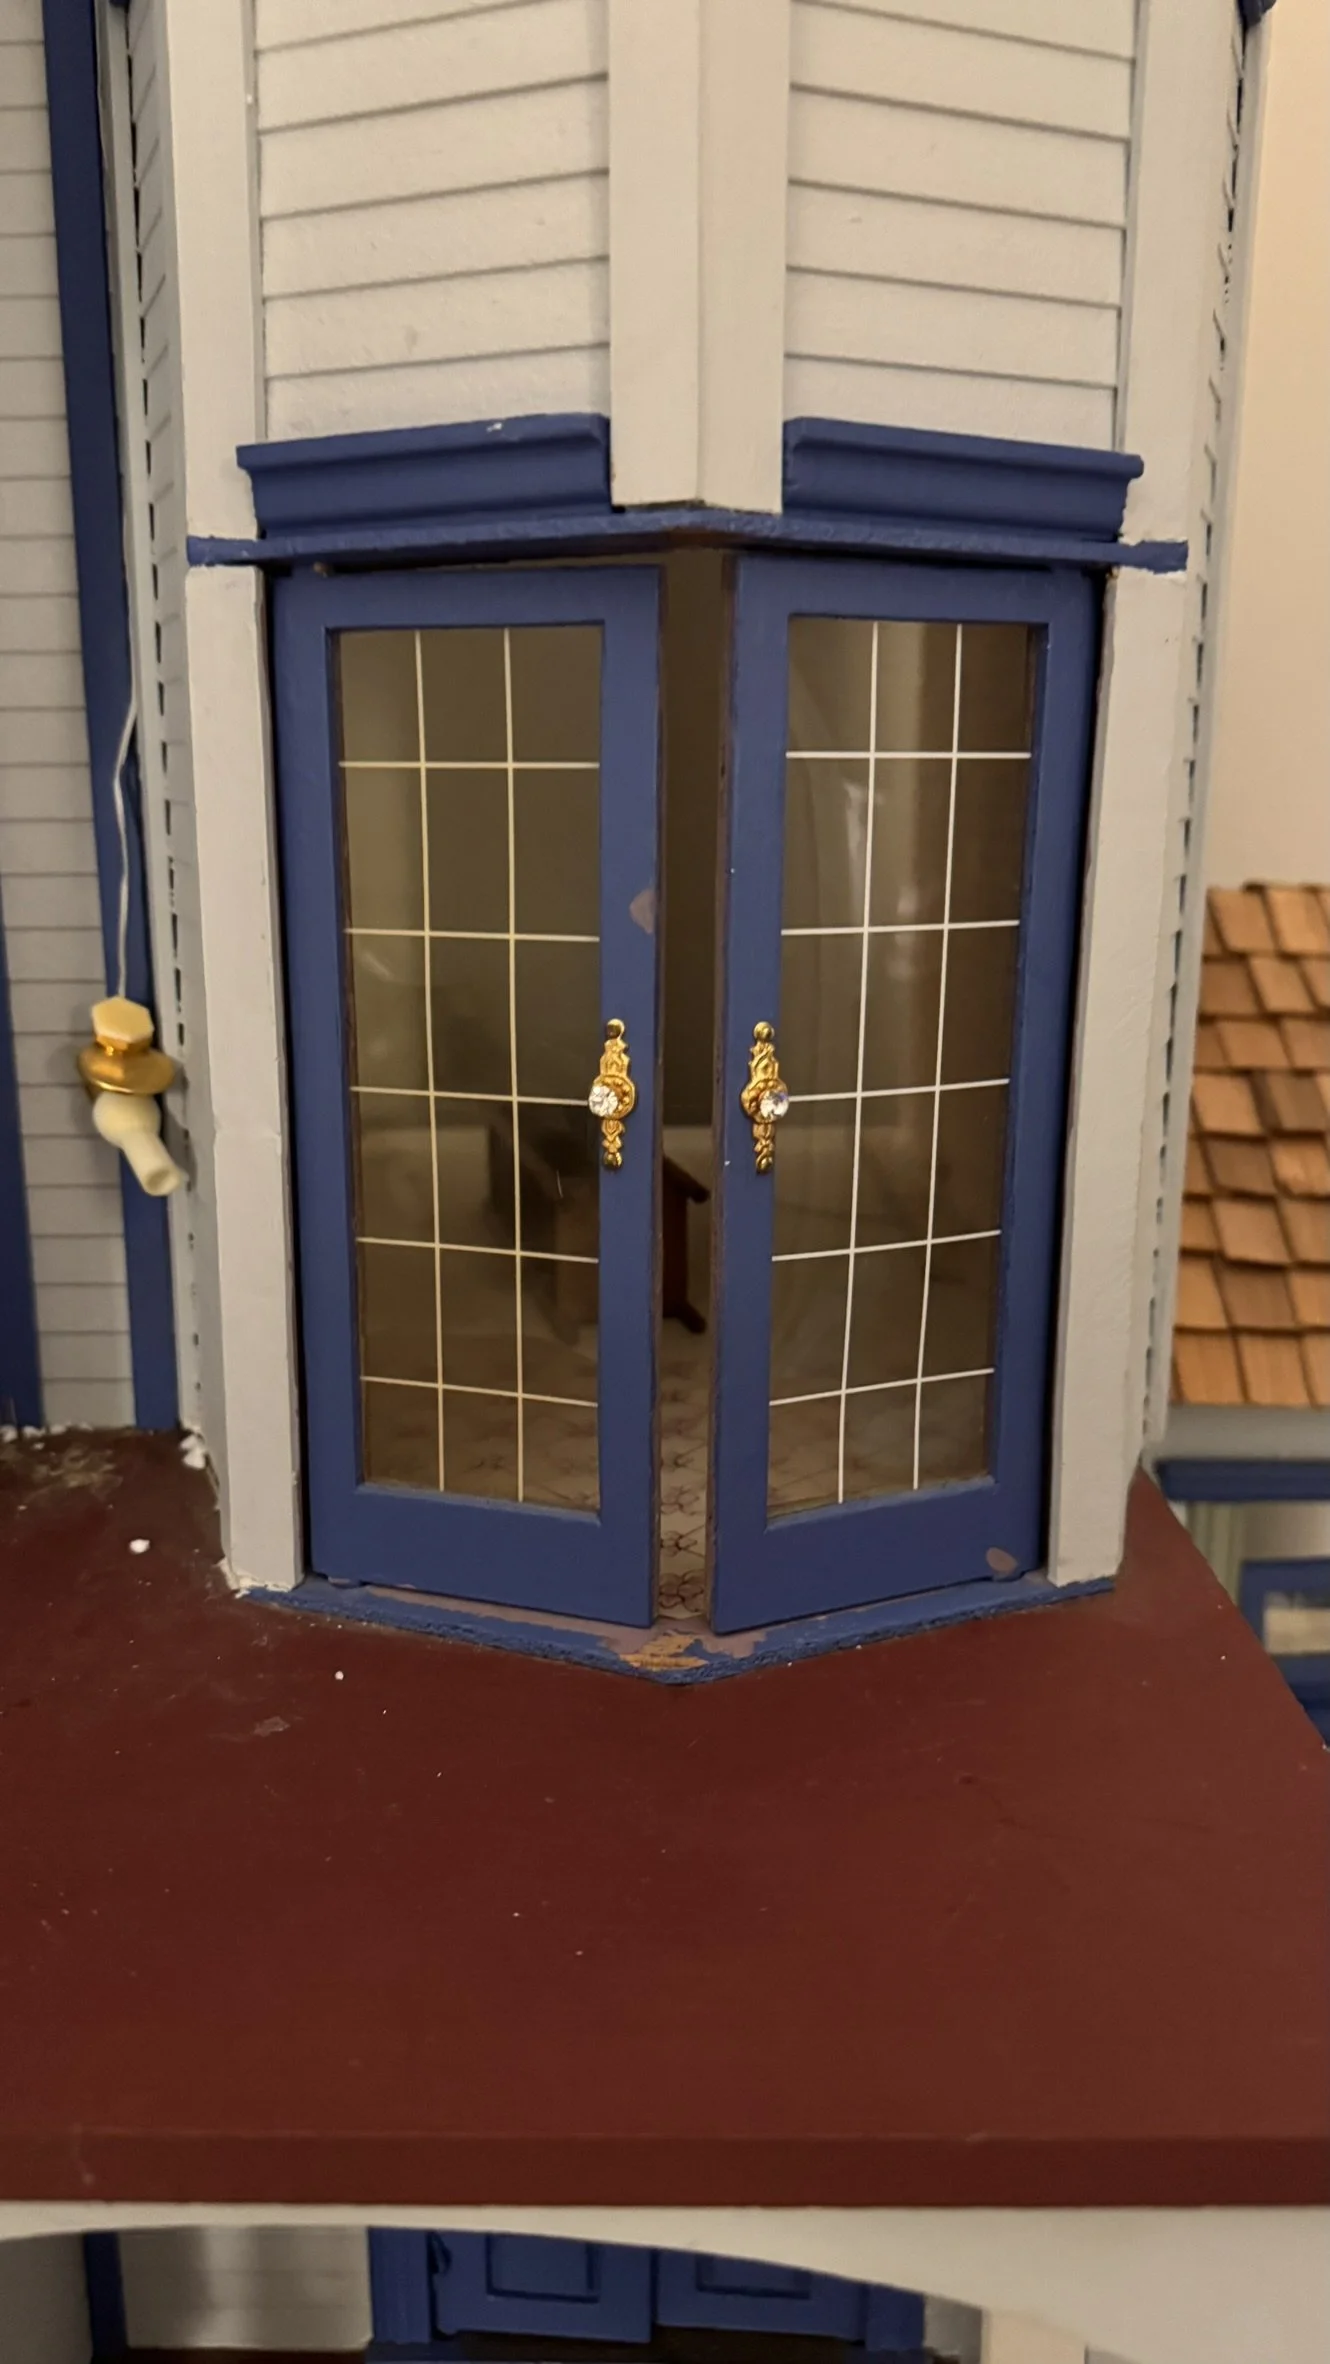
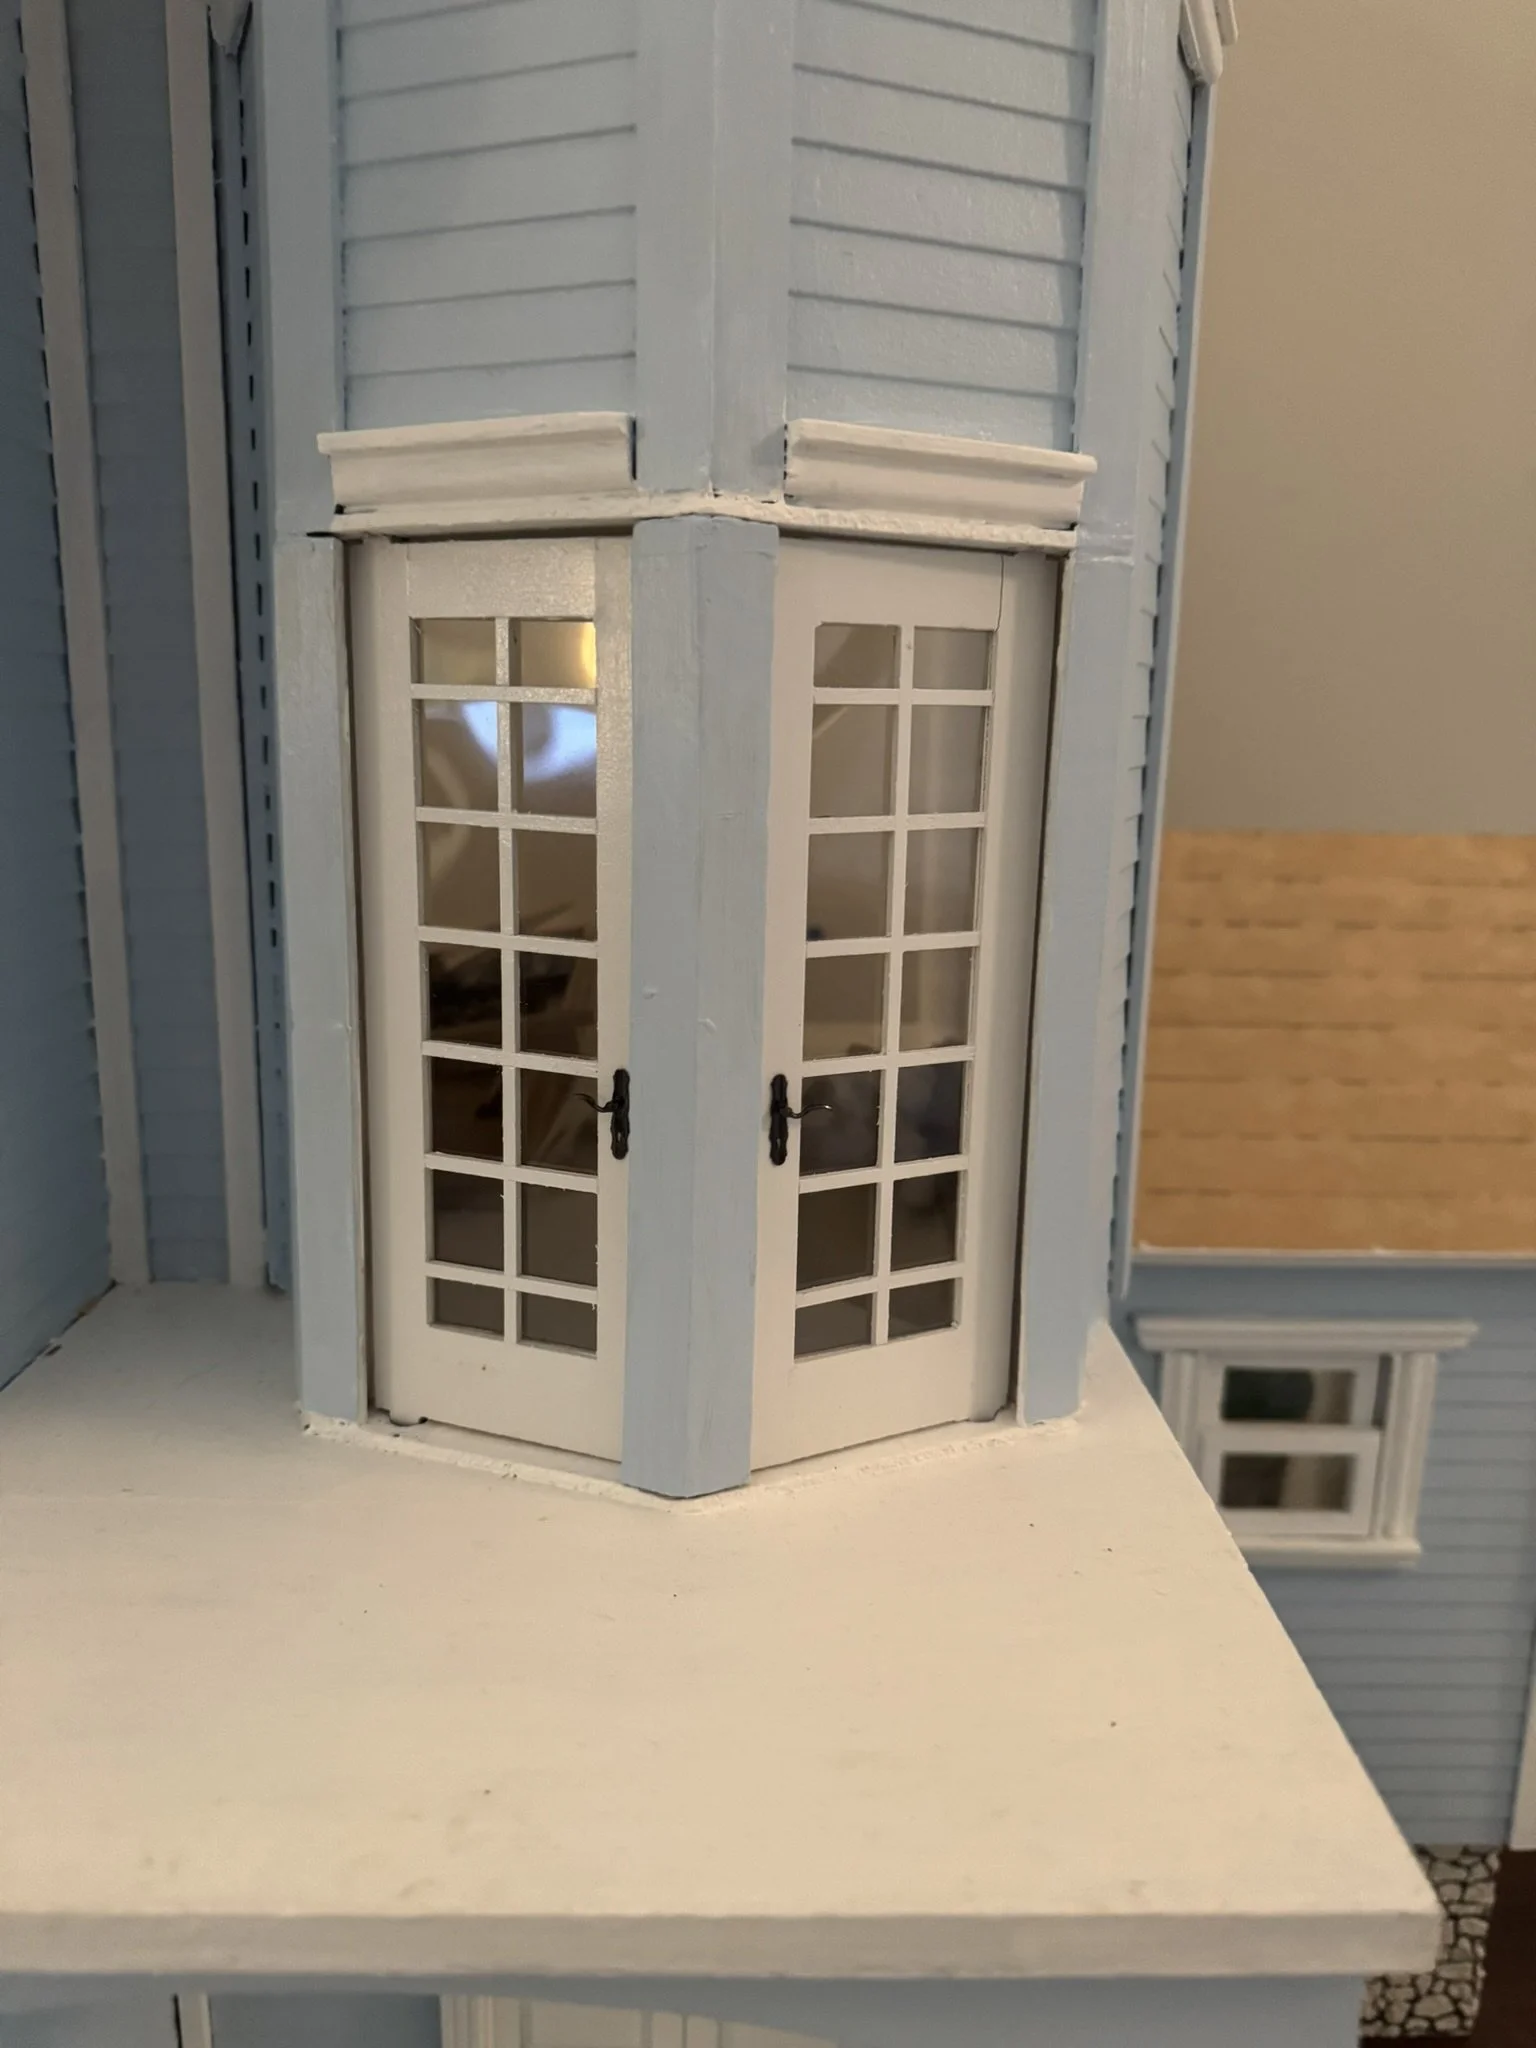
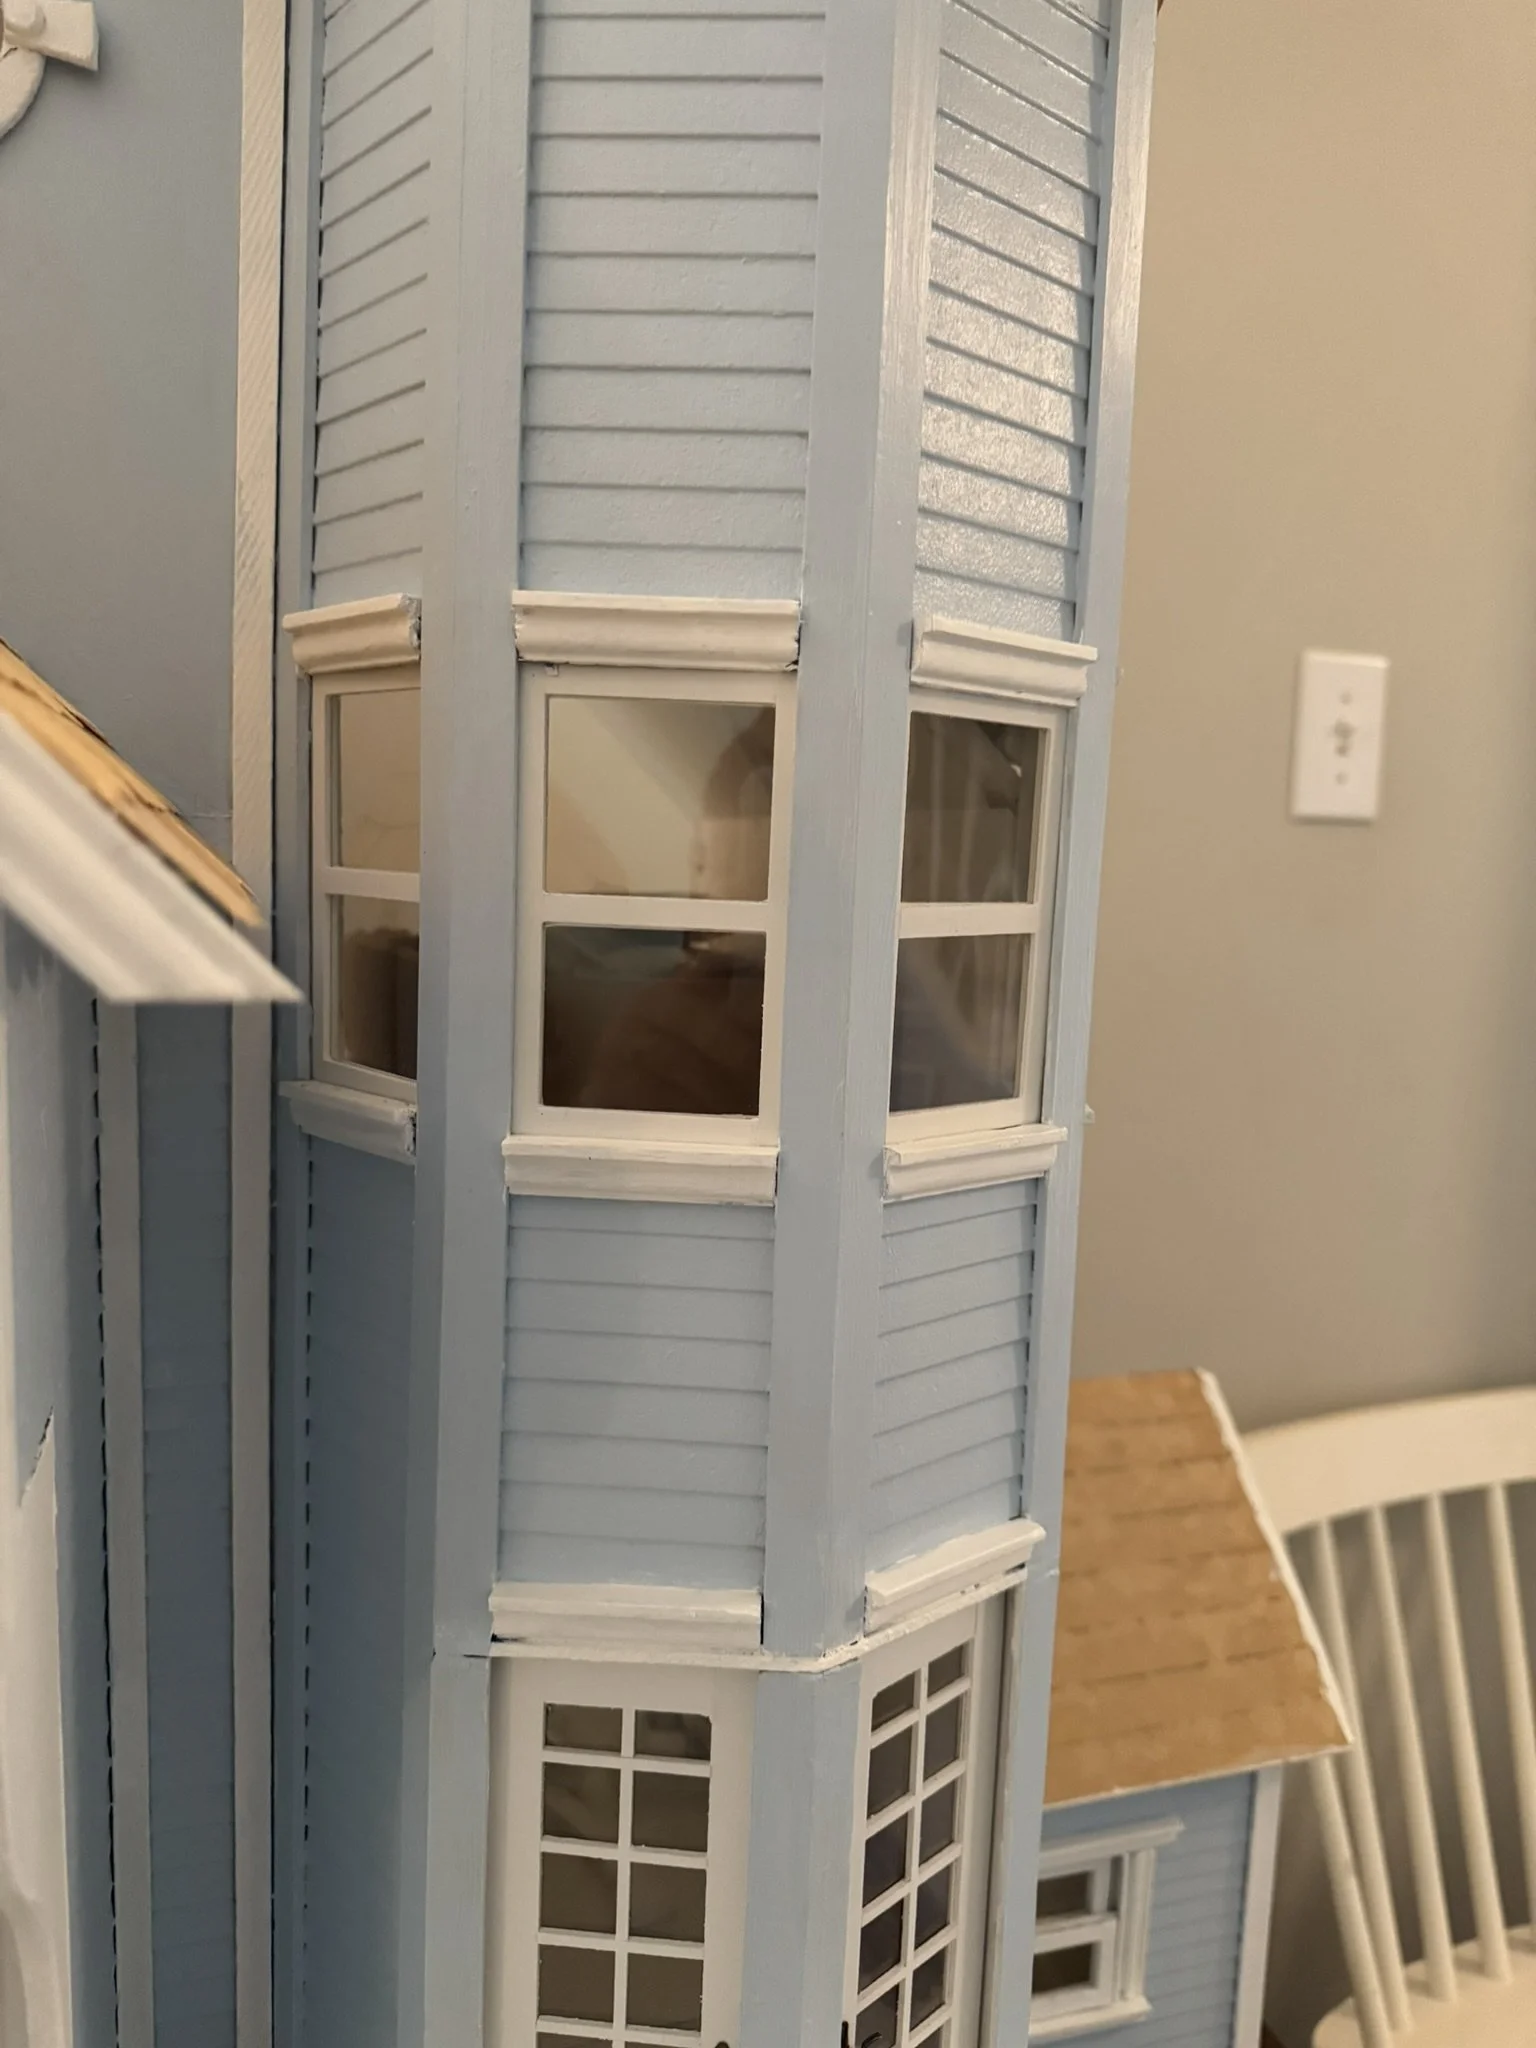
Most of the windows were so heavily glued in place that removing them destroyed the frame entirely. I kept as many scrap pieces as possible to use as a template for new frames. I rebuilt simple 2-pane frames for the turret windows, and was able to reuse the frames on the large windows in the front of the house.
The existing plastic panes were incredible yellowed from aging. I replaced all window “glass” using plastic transparency film. This material is easy to cut with regular scissors and comes with plenty of pages to account for mistakes and testing! The original windows had two identical window frames with the plastic film glued in between (like a window sandwich).
—
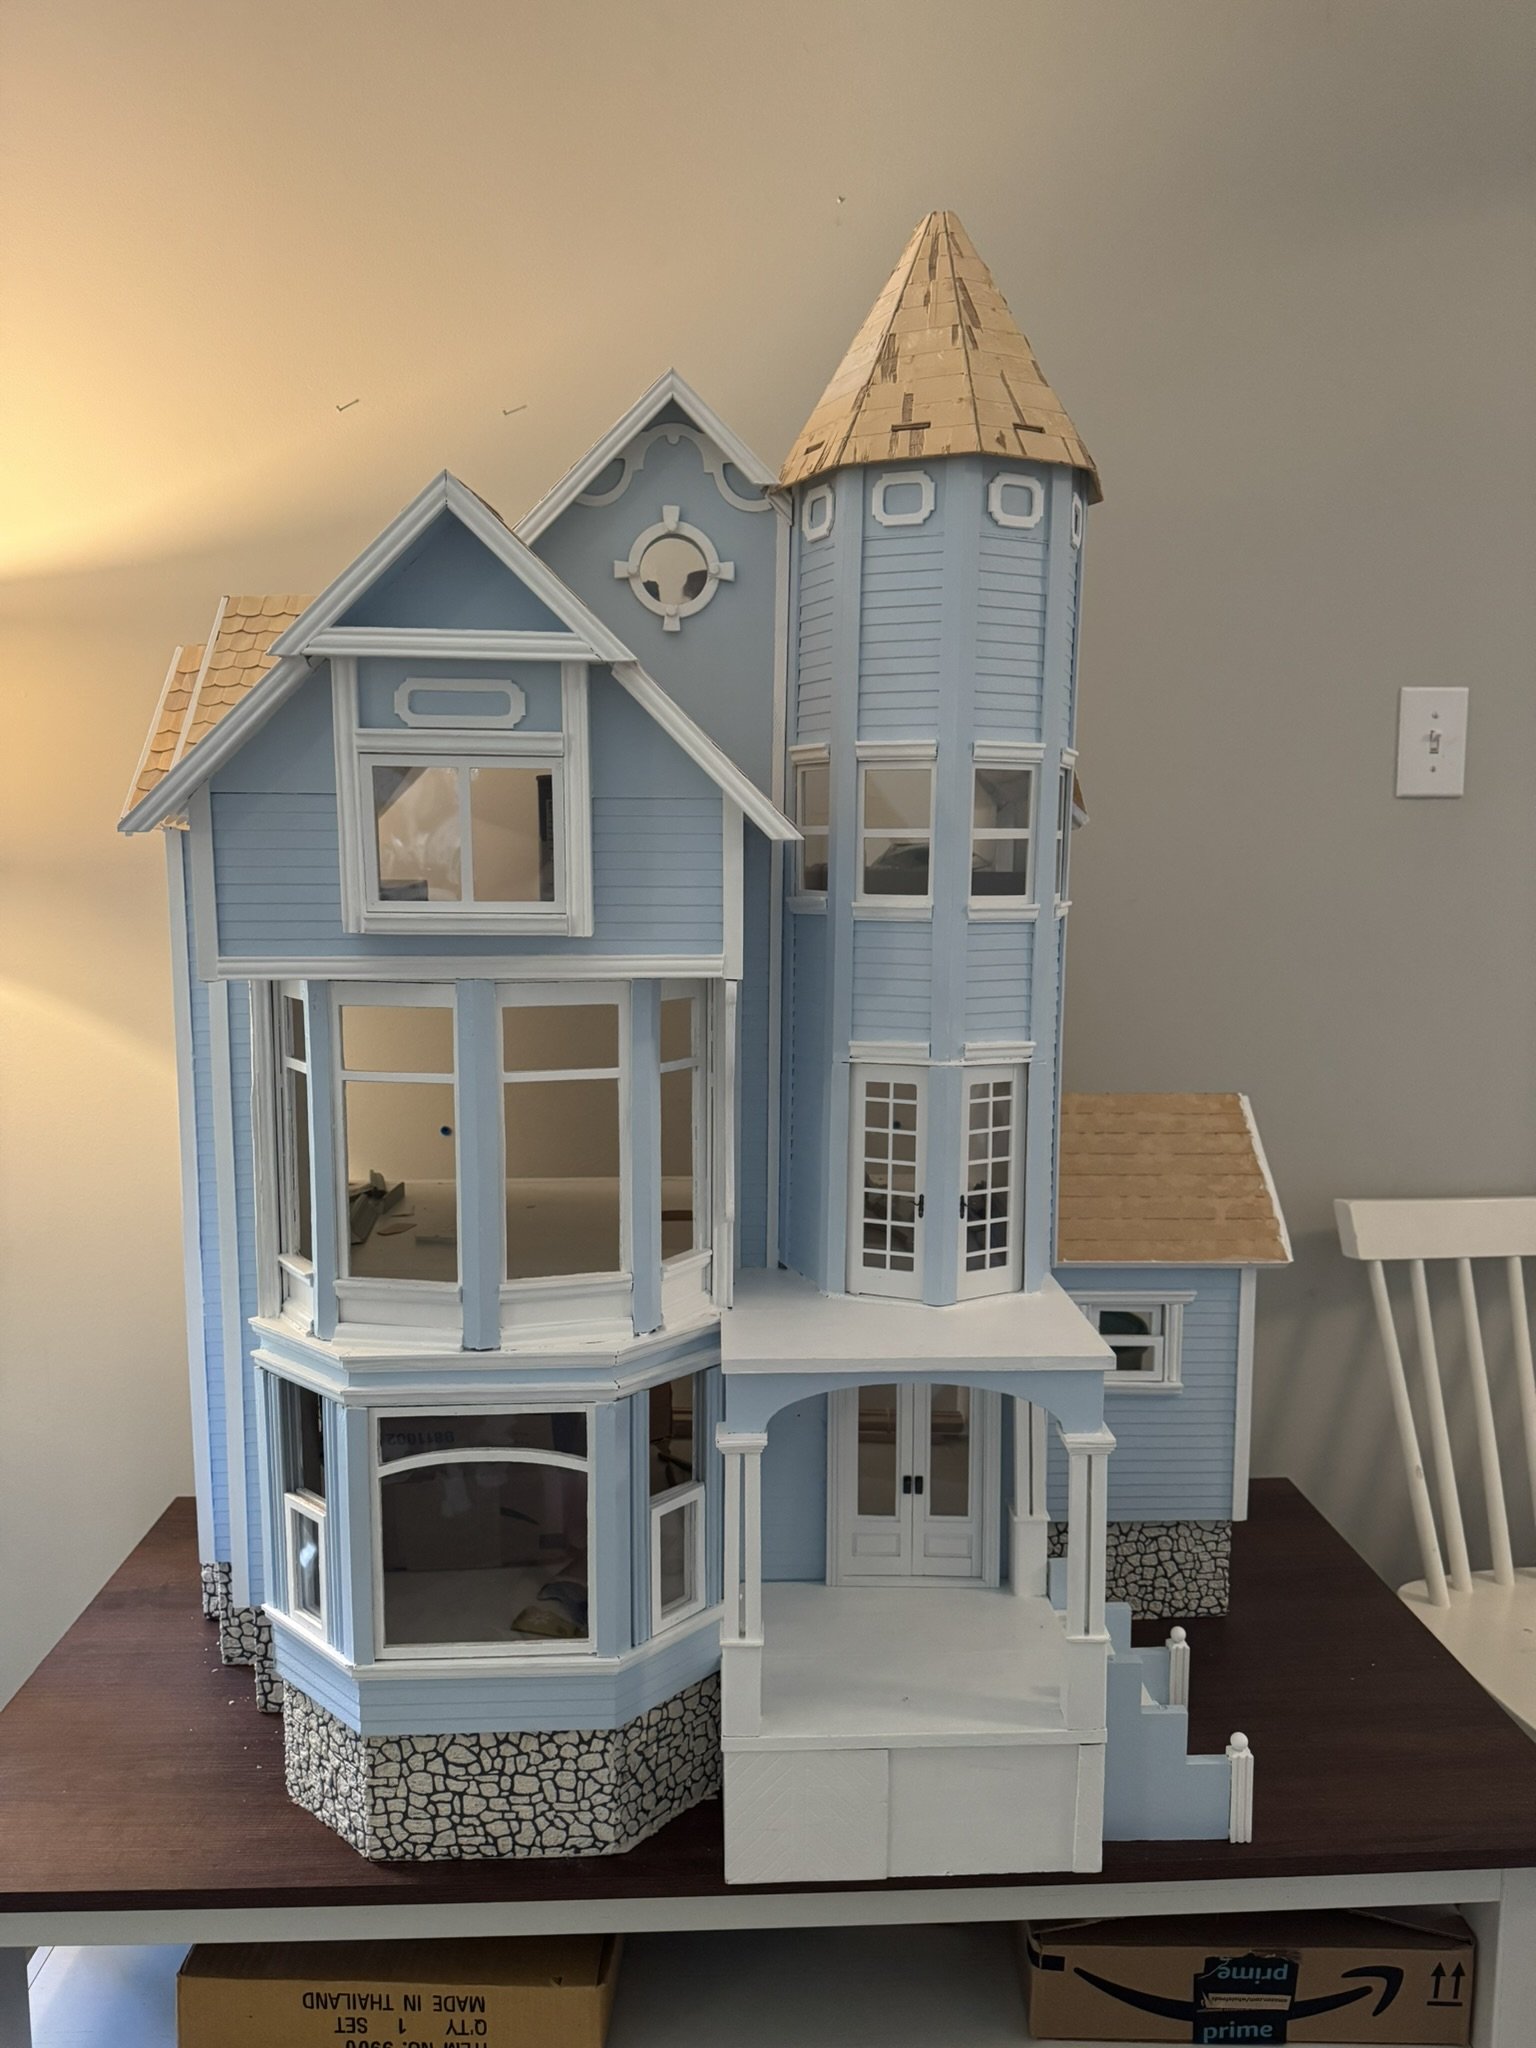
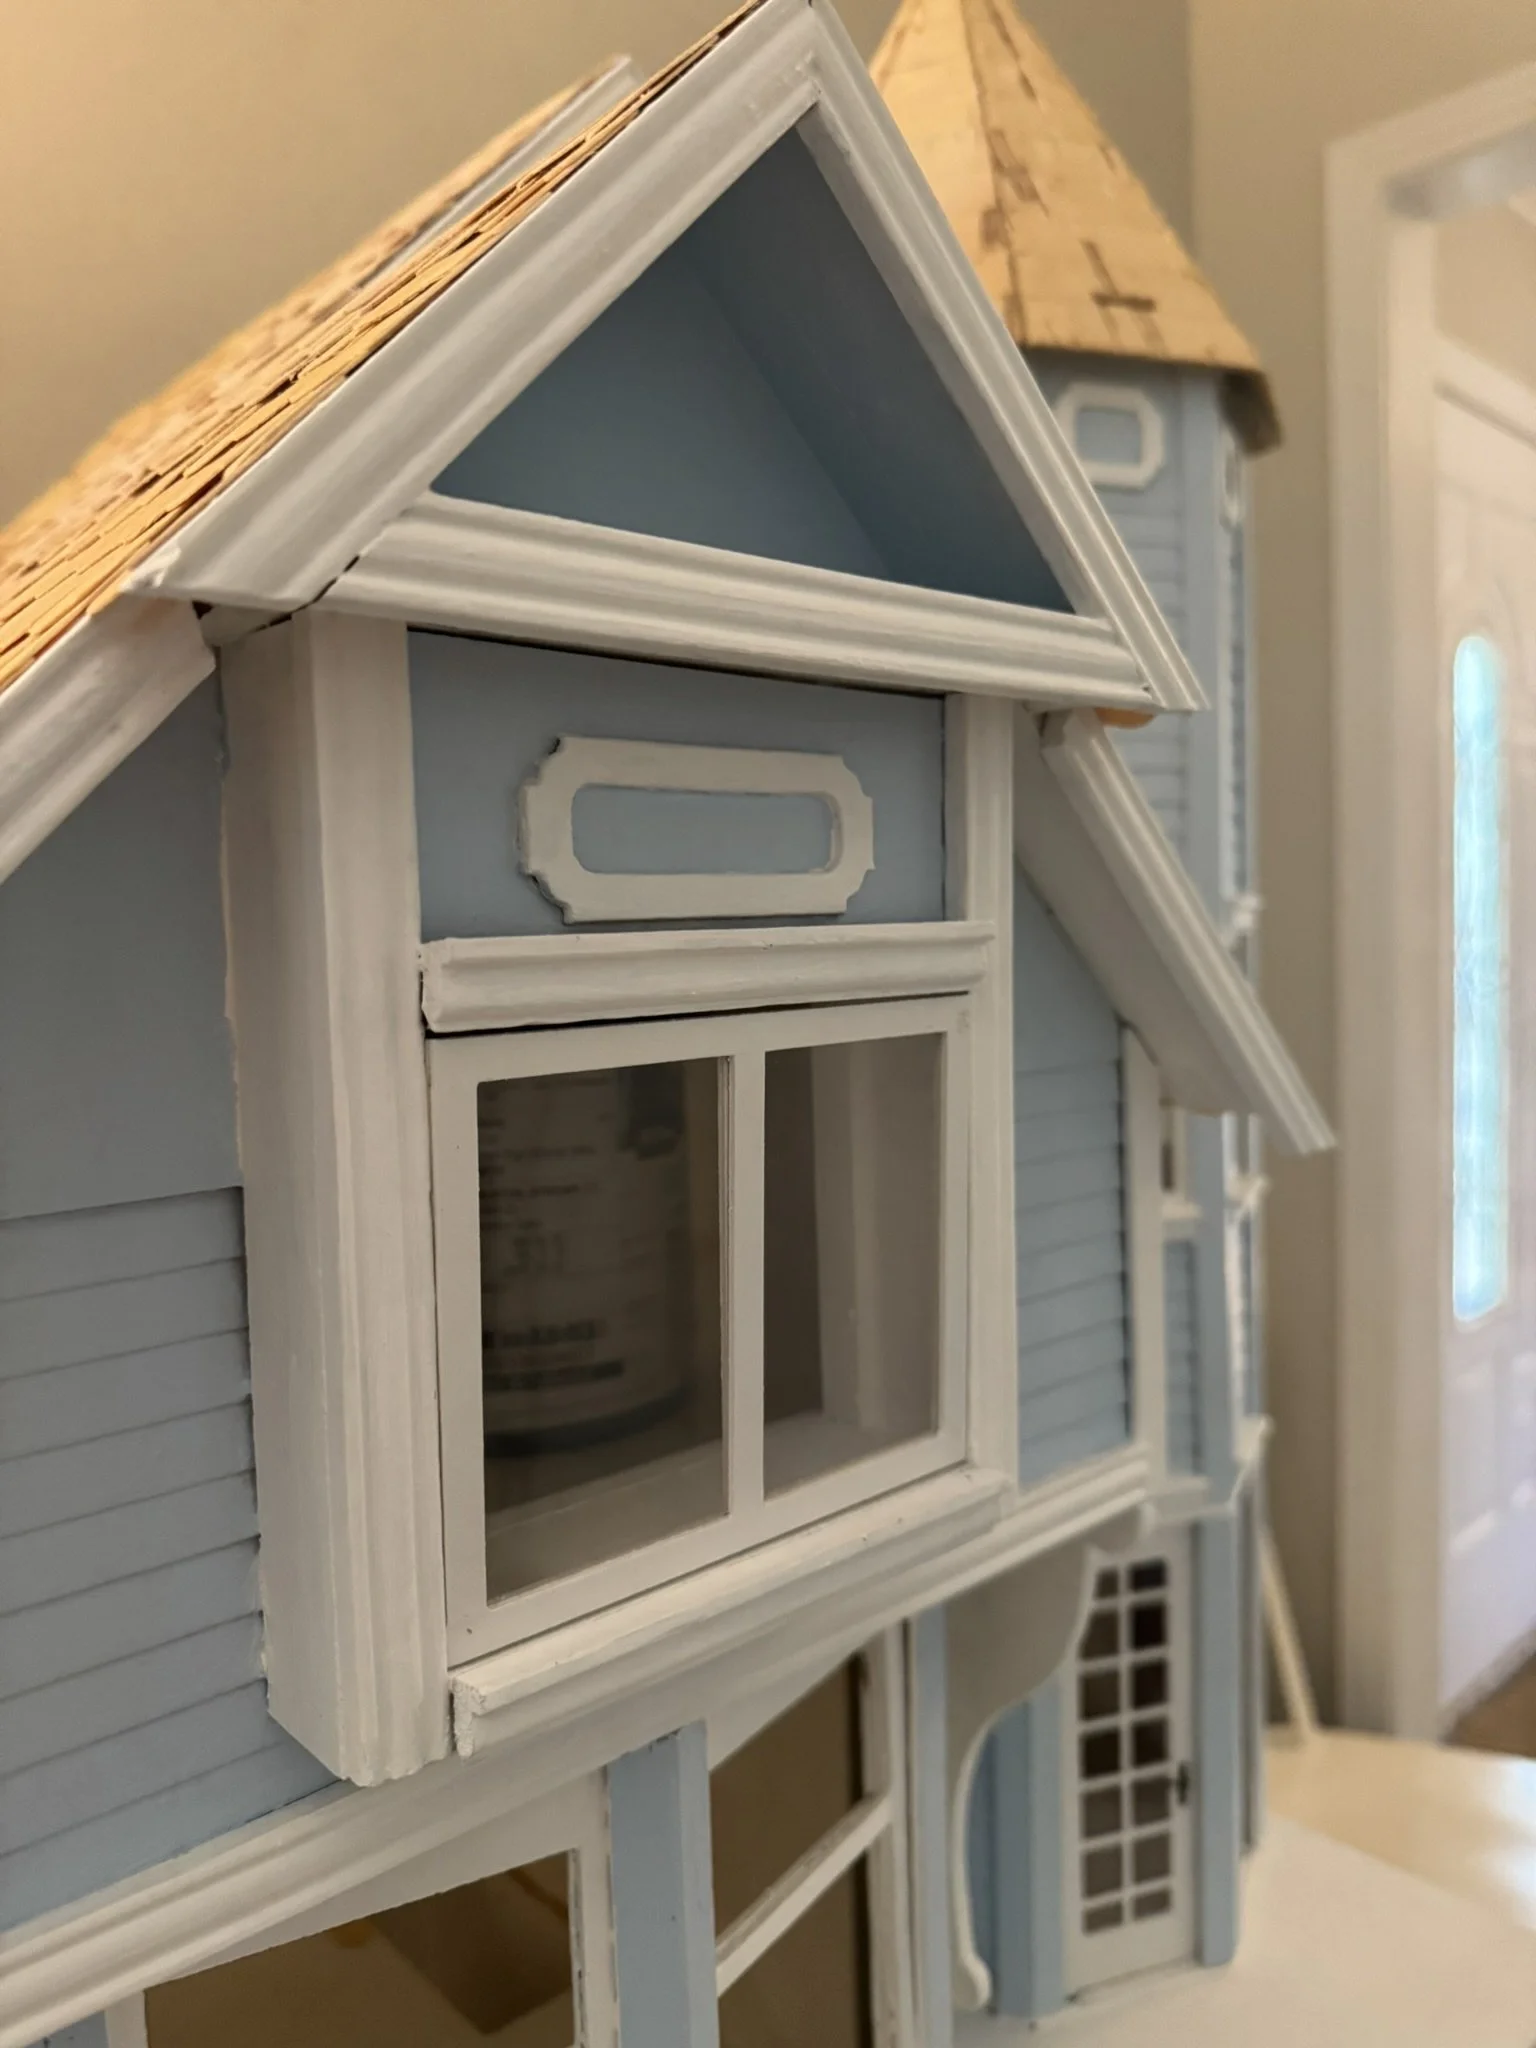
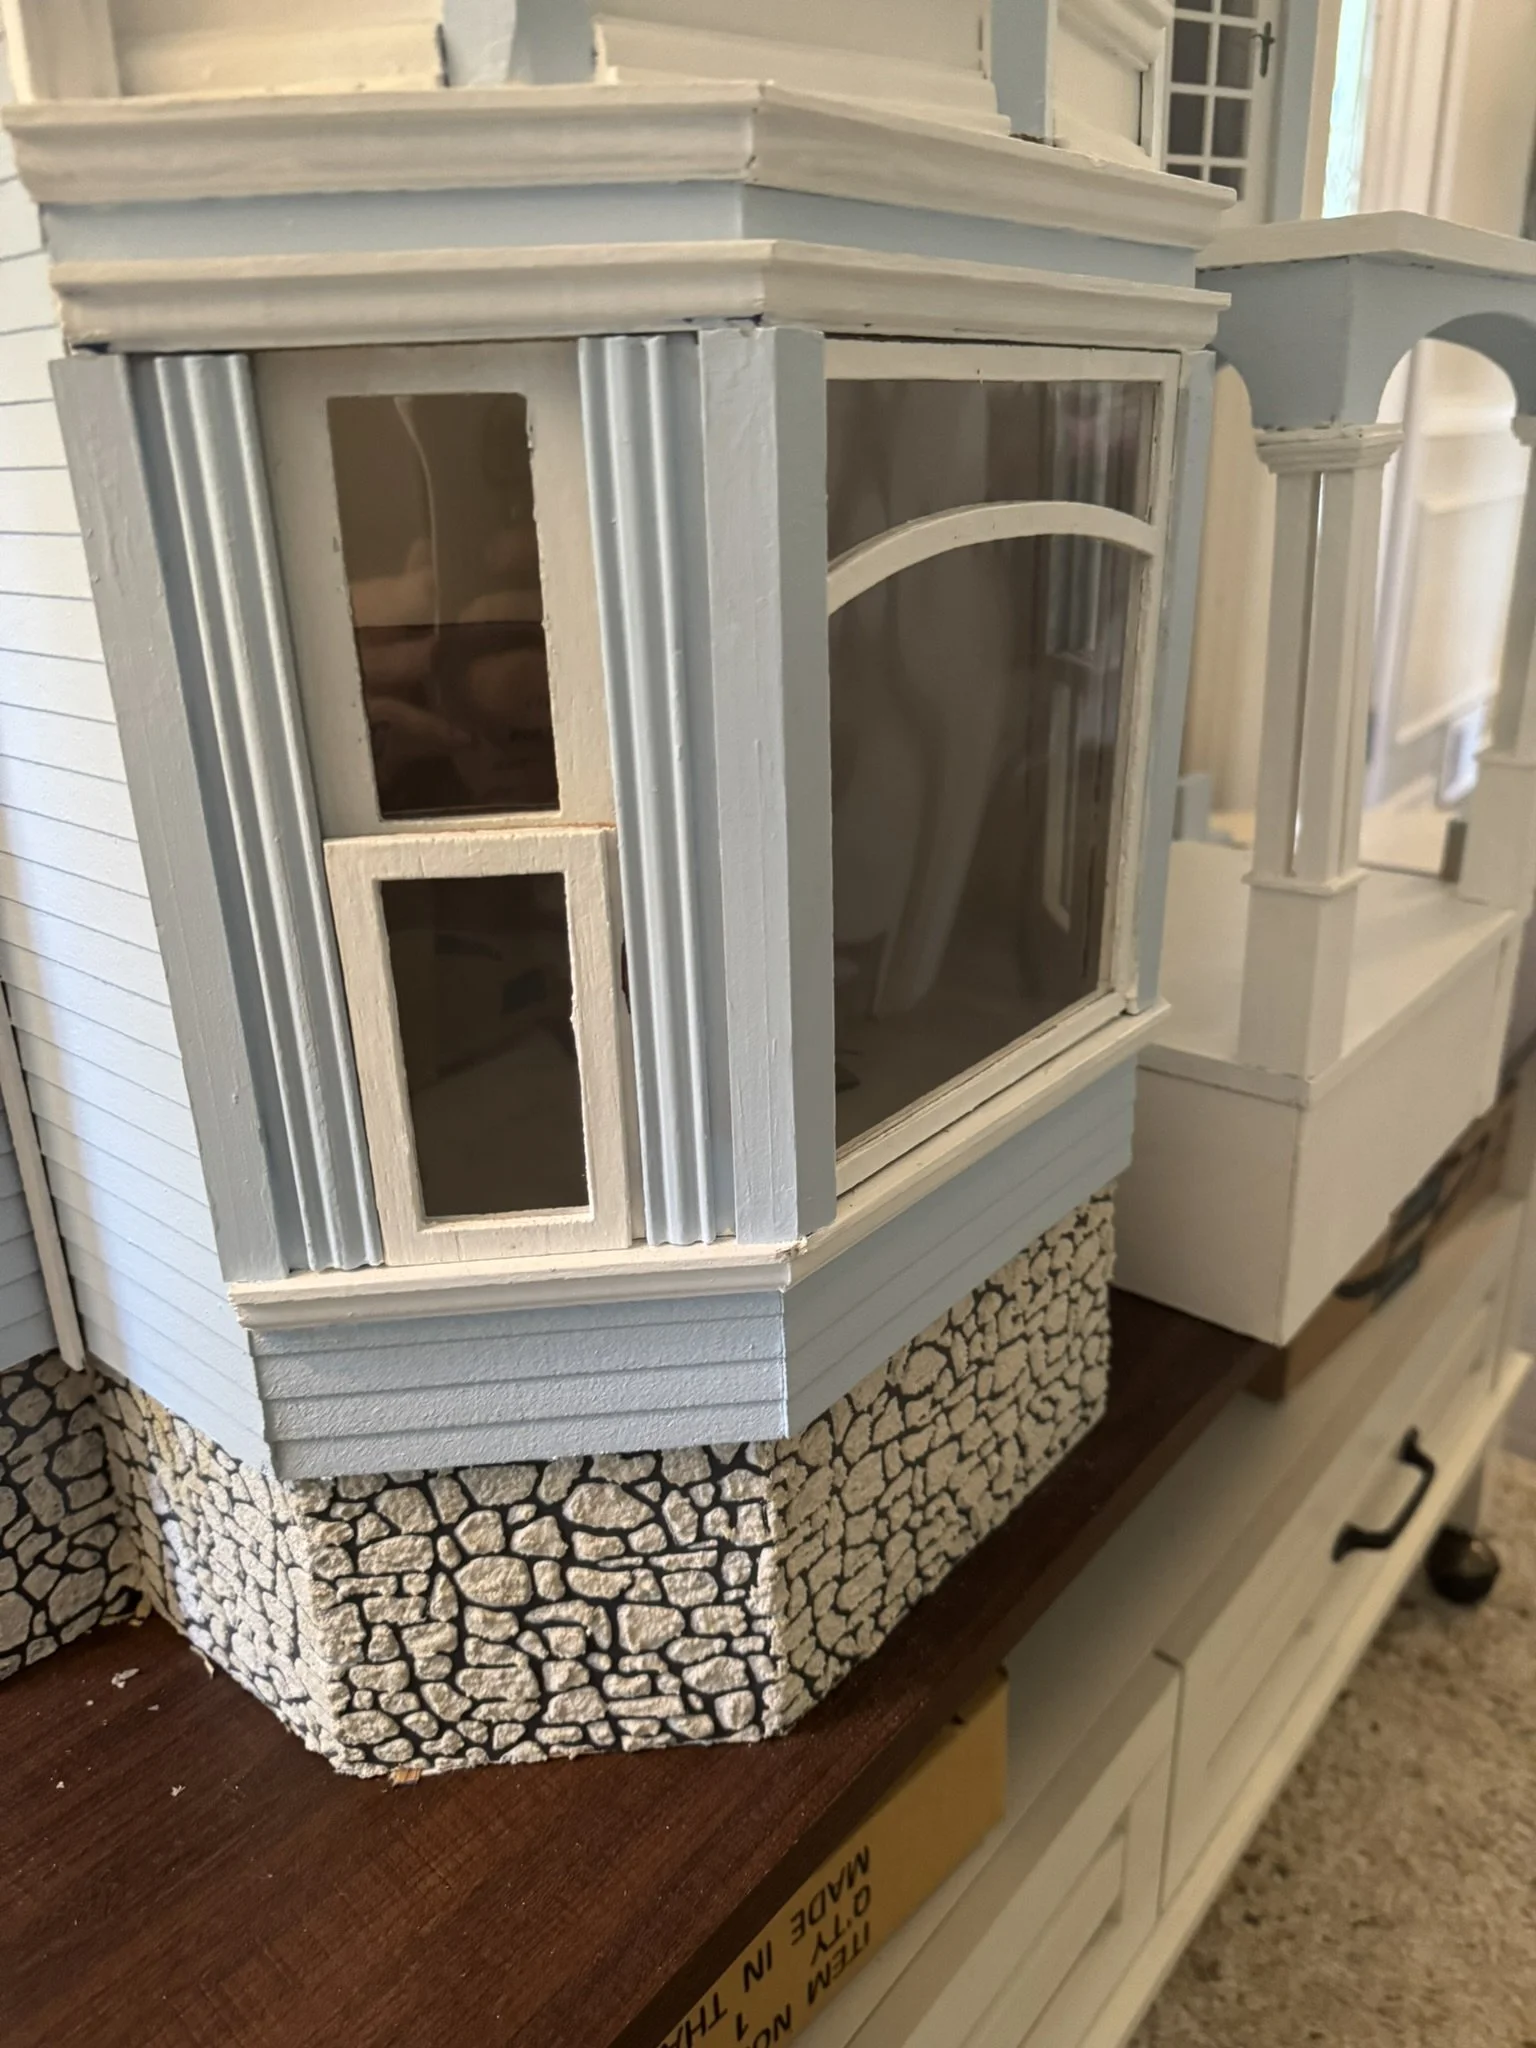
Painting the trim and existing siding was a task in and of itself and lasted several days! I chose the color blue Glacial Stream by Behr for the dollhouse siding, and a plain white for all trim.
I still have to install some architectural trim and details I removed for painting. And the textured stone foundation and fireplace has stumped me a bit as to how to update. And of course, the inside is a blank canvas for any and all ideas. Stay tuned for more updates along the way and follow along on social media for interim projects!