Dollhouse Dining Room Chair DIY

My latest DIY is an adorable upholstered dining chair inspired by West Elm’s Framework Dining Chair. This project includes a wood frame and a seat made from fabric scraps. Whether you're a beginner or looking to add a sleek piece to your collection, this easy-to-follow design will help you craft a beautiful, functional chair!
Materials
Bamboo wood coffee stirrers (or any craft wood about 1/4” wide)
Mat board, cardstock, or another thick type of paper
Fabric of your choice
Quilt batting or felt for padding
Hot glue gun (my favorite cordless type)
X-acto Knife or other craft knife
Other Glue (Wood Glue, or Beary Craft Glue)
Sandpaper
Wood stain, if desired
Chair Frame Tutorial
Start by cutting your wood frame using the cut list below. I typically use a miter box and hand saw to make sure you get smooth, 90 degree cuts.
Cut from the 1/4” coffee stirrers:
(2) 1 3/4” for the chair rail sides
(1) 1 1/2” for the chair rail front
(1) 1 5/8” for the inner support piece under the seat
Cut from the 1/8” wood skewers:
(2) 1 1/2” for the front legs
(2) 2 1/4” for the back legs
(1) 2” for the seat back top
I used a medium grit sandpaper to smooth any rough edges. If you want the legs tapered like I have shown, sand down each of the 4 legs on one end. Plus, sand down both ends of the 2” seat back top. Hold the table leg at an angle against the sandpaper to give it a tapered end and rotate as you sand it down.


Start assembling the wood frame with a front leg, back leg, and side rail. This will form the right or left side of the chair (similar to a lowercase ‘n’ shape.) Using wood or craft glue, glue the flat side rail exactly in the middle of the round skewer. I found it helpful to pop a spare coffee stirrer underneath each side to prop it up while the glue dried. Repeat with the other legs and side rail to make the opposite side of the chair frame.
Next you will glue the chair rail front and inner rail to one of the ‘n’ shapes. I found it helpful here to assemble a support structure made from Lego Bricks, so that my flat rails could dry perfectly straight up without having to hold it. The shorter rail (1 1/2”) goes in the front, glued to the shorter skewer legs. The longer rail (1 5/8”) goes just in front of the back legs, glued to the flat chair rail that forms the side. I placed my inner rail about 1/4” away from the back legs. Let this all dry very well before you attempt to move it!


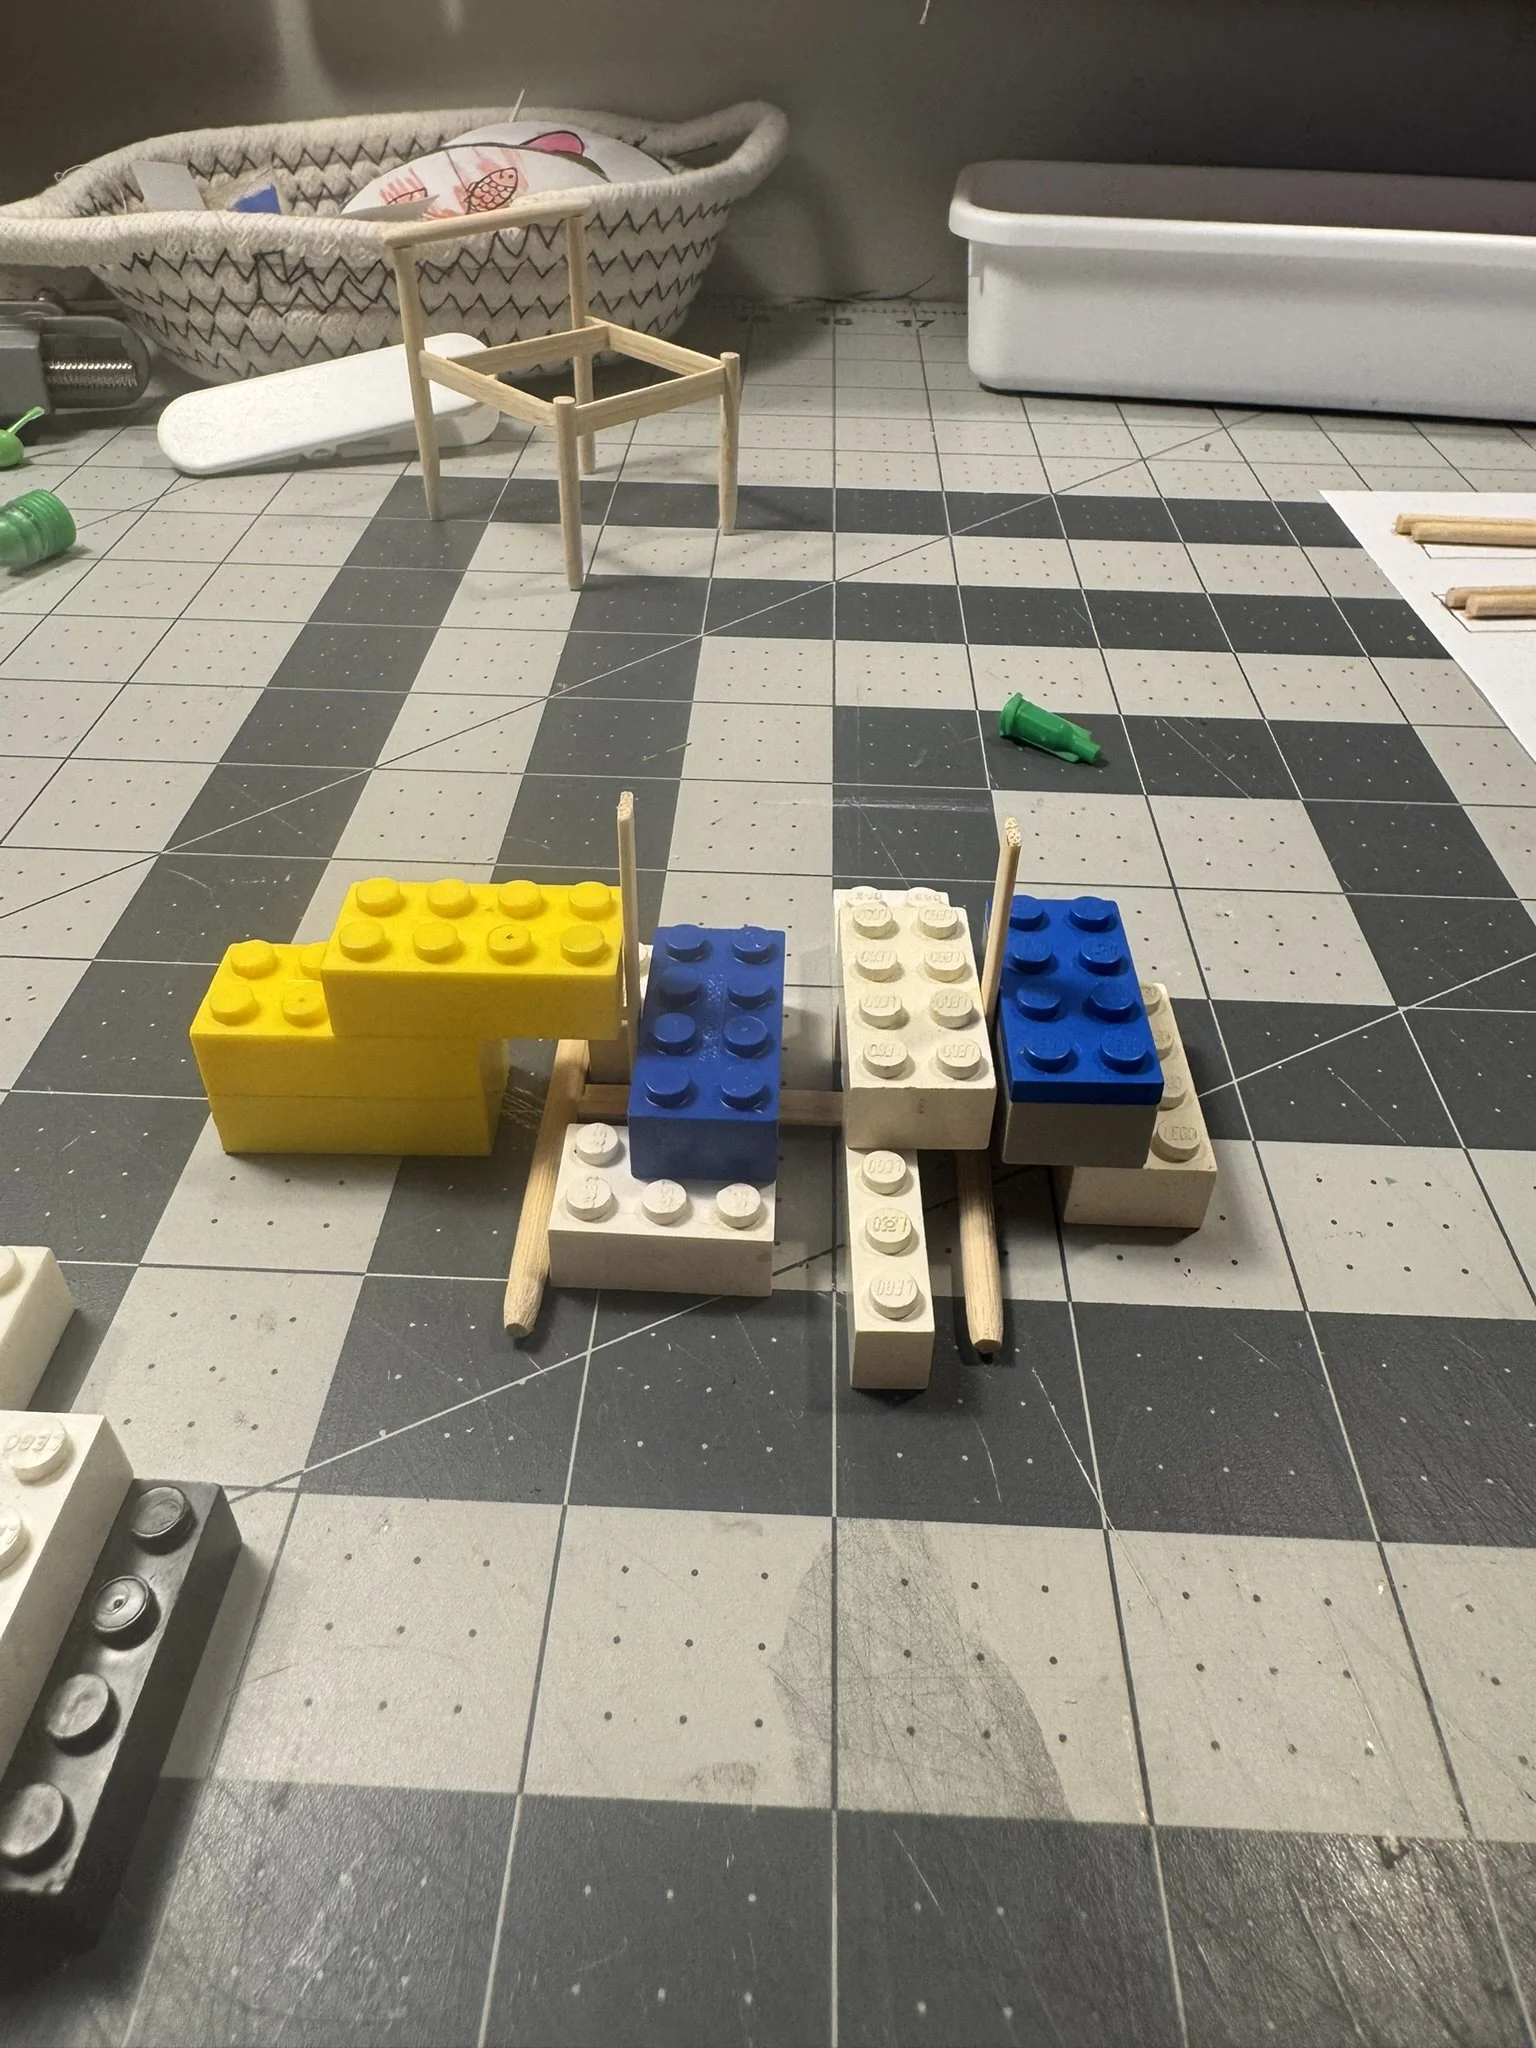
Next you will put both halves of the chair together. Again, I made a Lego Brick brace that held the two sides in place while the wood glue dried. Be sure all your angles are at 90 degrees so the base is a square.
Glue the last skewer piece on top of the back legs, connecting the top together. This may overhang each edge by a bit, which is fine.
Stain or paint your chair frame here if desired!


Chair Seat Tutorial
Now that the hard part is over, you can assemble the fabric seat and back next. I freehanded the seat shapes on a scrap paper and experimented with the angle of the back rest. My template seat and back measurements are below, but be sure to round each corner a bit:
Chair Seat: 1 3/4” wide x 1 1/2” deep
Chair Back: 1 3/4” wide at the bottom x 1 1/2” tall x 1 1/2” wide at the top
Once you are happy with your paper test piece, cut 1 of each out of a thick paper like mat board. Use your craft knife to get crisp edges.
To give the chair seat some shape, score a series of parallel lines on the underside of the paper. Gently bend it into a U shape.


Cover each seat and back with 1 layer of quilt batting or felt, securing with a dab of glue on the reverse side. I like to fold over all the edges, except for where the seat and back meet. I wanted less bulk here, so I cut the batting flush with the edge.
Next, cover each piece with your fabric. Fold the fabric over all 4 sides of the seat/back and secure with hot glue. You may need multiple folds to work you way around the rounded corners. The bottom of the seats will not be seen (where the scoring is), but we will cover the chair backs in the next step with another layer of fabric.


To cover the back of the seat, cut out another scrap of paper that covers the folded edges where your fabric goes onto the back. This can be regular computer paper or any other thin paper. Cover this paper with fabric and glue to the reverse side of the seat back to hide any glue or seams. It’s a fabric panel to cover the glue and raw edges.


Now you can assemble your chair together by placing the fabric seat and back onto the wood frame. I used craft glue for this step so that I had a few minutes of working time to get the placement and angles right.
Now you have one chair down! How many more do you need to make? ha!


